A Porter Robinson "Nuture" Inspired DIY Skin by Anny & Ian

January 22, 2024
Written & Designed by: Anny Wu & Ian Huang
Hello Lunchbox Fam! We are Ian (who purchased the Lunchbox) and Anny (who did most of the designs and painting).
Anny: I was really excited to get this commissioned. We knew that we wanted it to be Porter Robinson inspired, with some details that represent both of us. After looking through different inspirations on how people customized their DIY skins on the Lunchbox blog page, we decided to use acrylic paint for our creation.
FIRST PHASE MATERIALS:
- Lunchbox DIY Skin
- Acrylic paints of assorted colors
- Paint brush of different thicknesses
- White gel pen (for sketching as it can be erased using a damp napkin)
- Water to clean brushes and a towel to wipe them dry (it is important to keep brush dry when using acrylic paint)
- Acrylic Coating Spray

We love Porter Robinson’s visuals, so we took the "Nurture" album cover and switched Porter into something meaningful to us: a shepherd and a corgi. After deciding on the composition and color palette on my iPad, we went straight to painting.
I started on the background, which is a sky blue blend into light grass green. Acrylic paint usually paints on thin, so depending on how dark the colors you use are, make sure you do at least 2-3 layers to get your preferred color.
While I worked on the characters, Ian helped me with the clouds by using a rounder and rougher paintbrush. He gently used the tip of the brush to rub on the sky to create the texture of the clouds. We did have to cover up some parts and re-do others when we made mistakes (make sure to wait for the paint to dry first to avoid smudging).
Then I used a #3 round paint brush to create the texture of grass after completing the characters. For the flowers, we just gently and randomly dabbed some white and yellow on the grass. Keeping it random is the key so that it looked natural. After the a generous coat of Acrylic Coating Spray, that completed the first phase.
SECOND PHASE MATERIALS
- White acrylic paint
- Tiny 00 size paintbrush
- Highlighter (used to sketch and can be easily wiped with a damp napkin)
- Dry napkin to wipe excessive paint on my tiny paintbrush
- Yellow and Green neon acrylic paints

Days later, we did the second phase of the skin focusing on adding text. We talked about what words, font style, the overall size and how it needs to fit with the current design which led me to draw out some ideas.
Using the highlighter, i roughly sketched out different designs and ideas until we agreed on a style. Then, I used the tiny paintbrush with just a little bit of white paint and drew out the text again. I did try using a white gel pen from phase 1, but it does not work well because it’s water soluble so it would easily get wiped away on the dry acrylic paint and not achieve optimal thickness. After I finished the text and let it dry, I used a damp napkin to carefully wipe out all the highlighter marks and they were surprisingly very easy to remove!
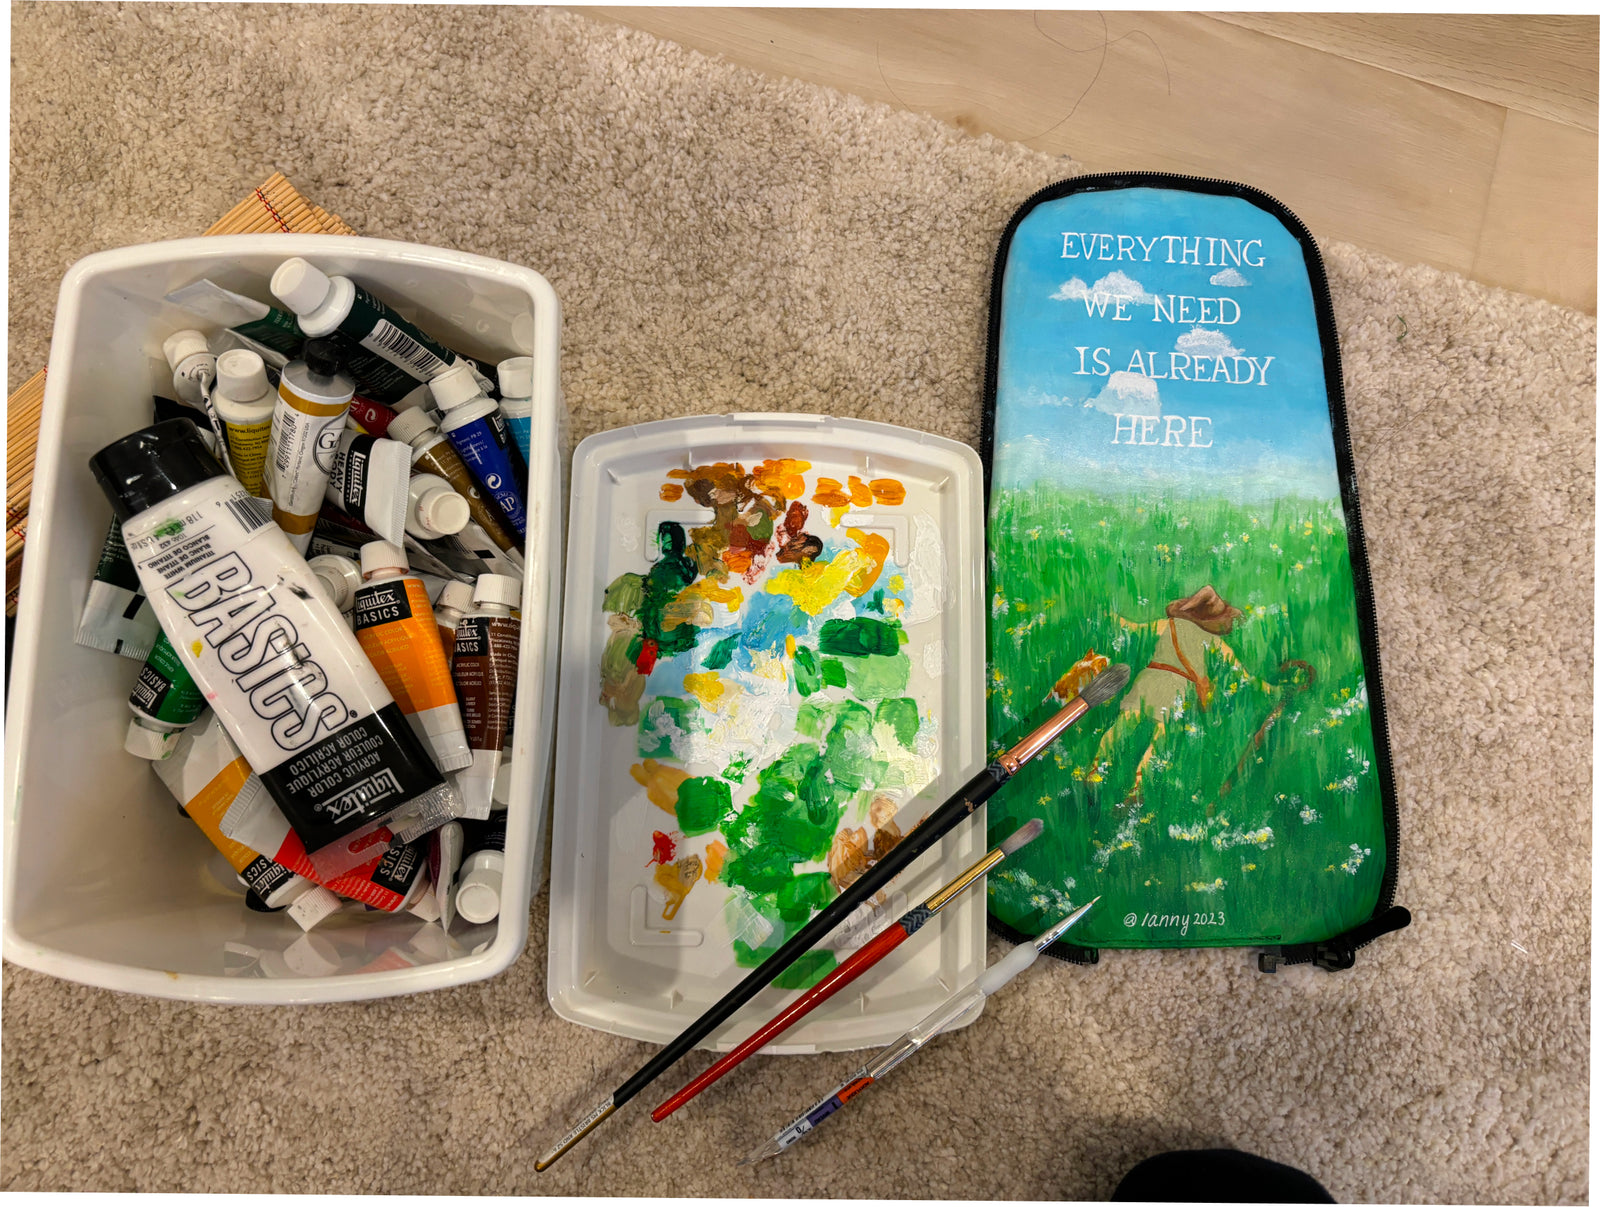
Last but not least, we used neon yellow to add more brightness to our flowers and neon green for the grass. And voila! Here was our first time wearing our skin at Ultra Taiwan 2023.

If you ever plan to use acrylic paint for your own DIY Skin design, here are some tips and learnings from our experience:
- If you are going to sketch out something on top of a layer of acrylic paint, make sure to spray it first with acrylic paint spray. If you don't, you may accidentally damage the paint that you're sketching on.
- In general, keep your paintbrush water free by drying it between brush rinses. Acrylic is not completely water-proof. If you're doing details, don’t forget to wipe down your paintbrush on a napkin or cloth every once in a while, so the dried paint does not stick on your paintbrush.
- Make sure to apply more than 1 layer, but don’t go too far! Usually 3 layers of paint is enough to achieve optimal color.