Anthony K.'s Groovy Fabric DIY Skin

January 17, 2023
Written by Anthony Kadzban, Lunchbox Fam Member
Wandering through the endless rolls of fabric at a craft store can be the perfect oversaturated experience to spark a creative project as you enjoy the seemingly endless array of color, pattern, and texture. For when you find that perfect fabric and have the desire to create a Lunchbox Hydration Pack Skin out of it, here’s how I laminated this groovy fabric to a DIY Skin without using a sewing machine. But first, here’s what you’ll need.

Materials:
- Lunchbox DIY Skin
- Fabric
- Flex Glue
Tools
- Scissors
- Weights
- 230 grit Sandpaper
- 70% Isopropyl Alcohol and rag
- Acetone and rag
- Marker
- Disposable spreader
Step 1: Choosing Your Fabric

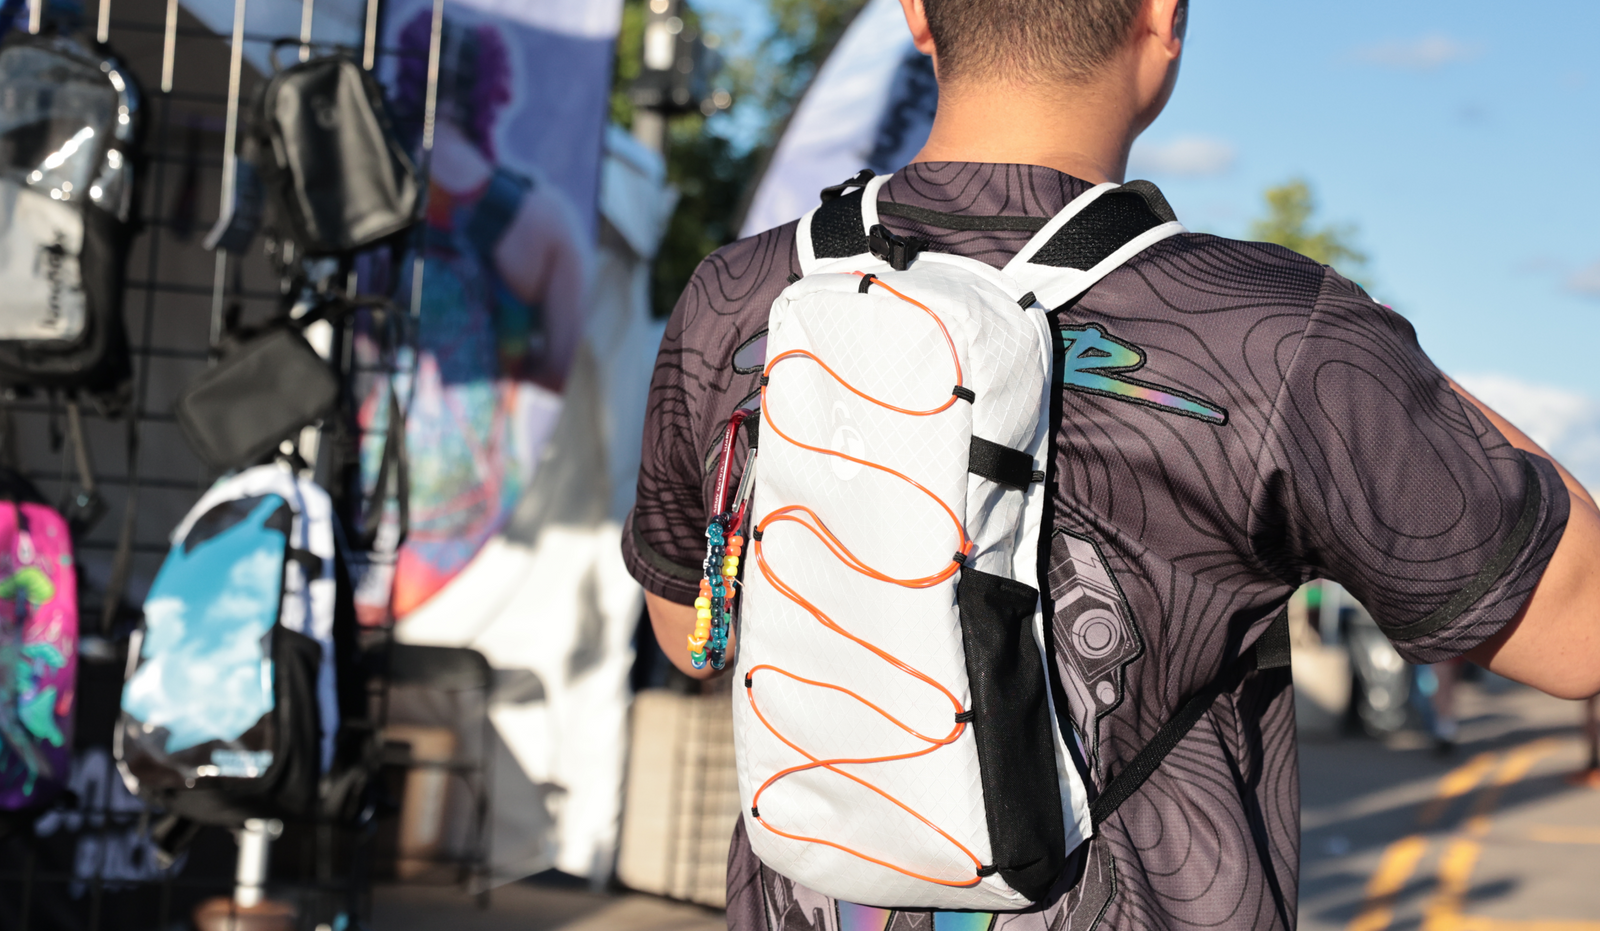
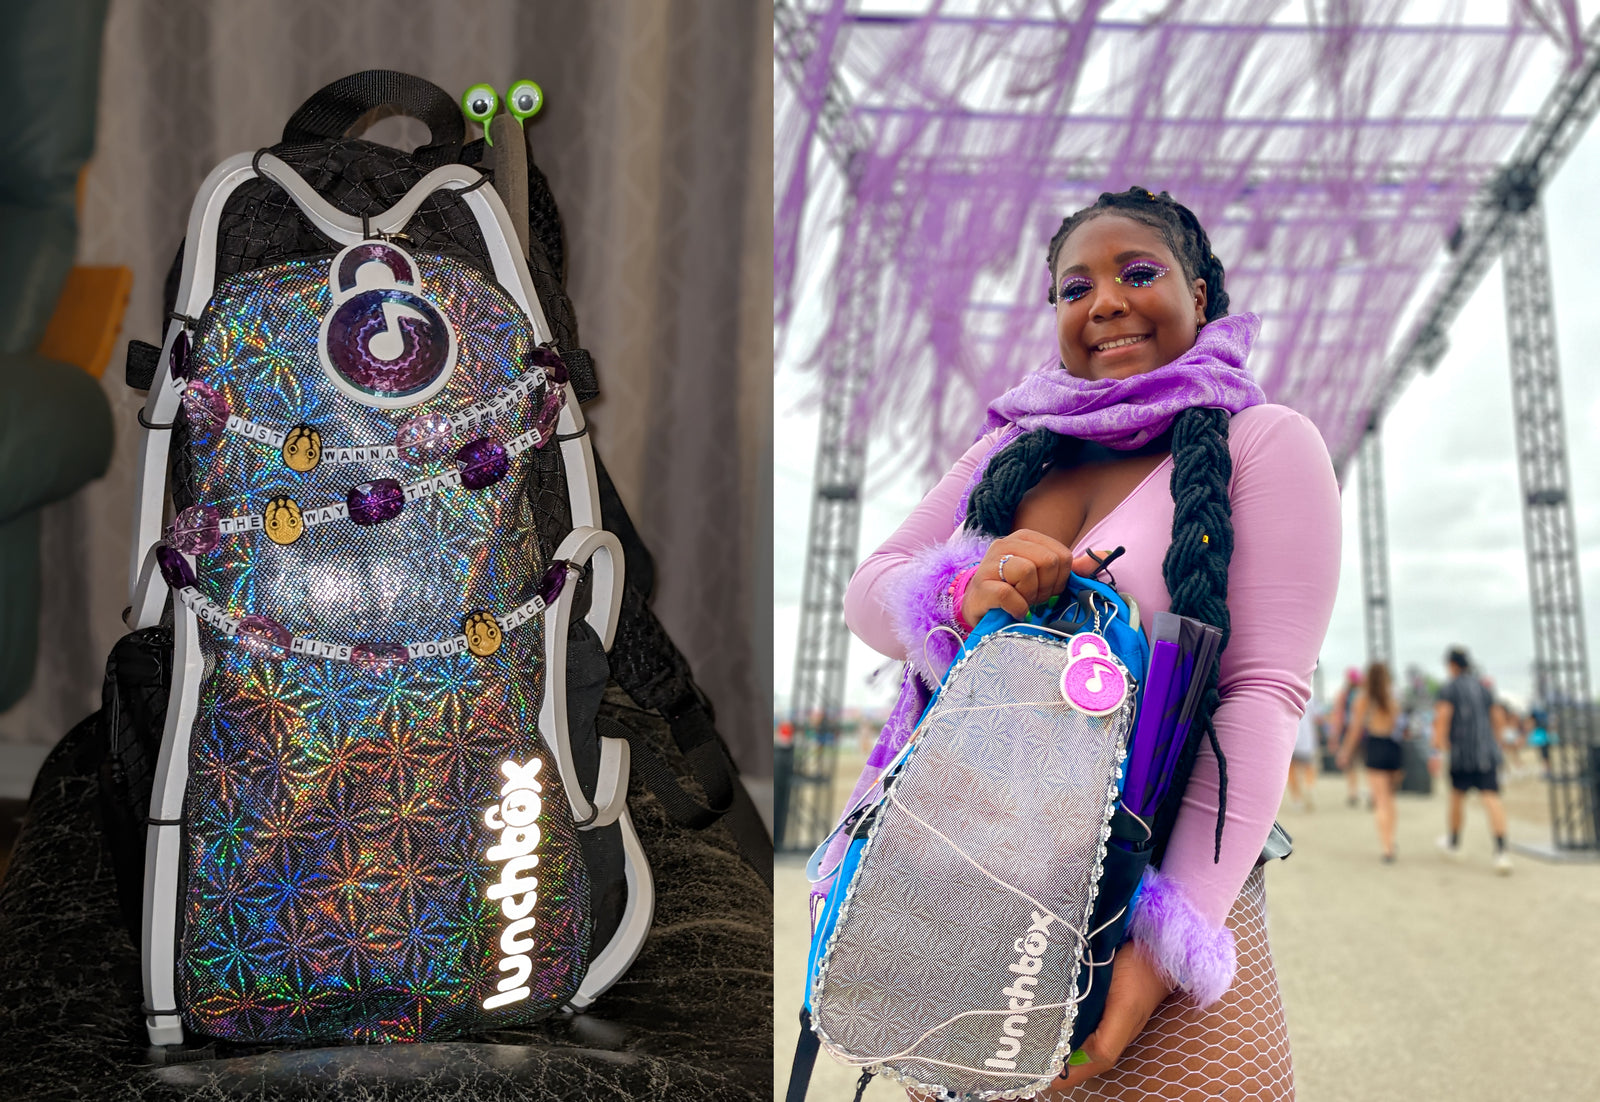
With so many different fabric patterns available, it may be overwhelming to choose just one fabric for your skin. A trip to the local fabric store is usually the best way to select because you can touch and feel the material before purchasing it. I tend to find the most durable fabrics in the marine vinyl section, the most colorful fabrics in the Nylon/ Spandex area, and the best patterns in the cottons. I chose this holographic print Nylon/ Spandex to use as the fabric for my custom skin. You’ll need at minimum a 8” x 14” piece but at the fabric store, you’ll be able to buy a quarter or half yard of the material and have a little extra. I trimmed the fabric to a size that was larger than the skin so after laminating it, I could trim the extras.
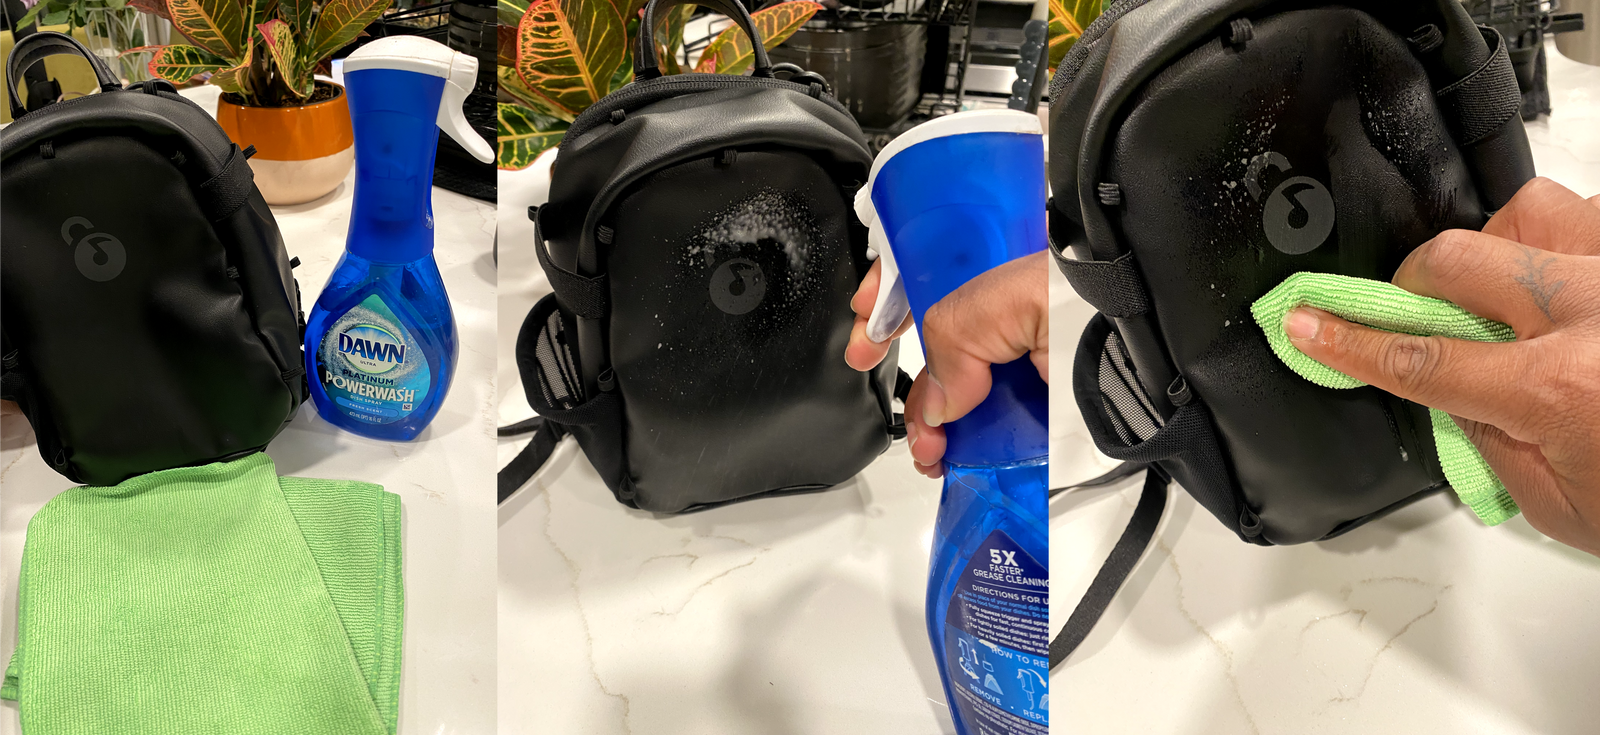
Step 2: Cleaning the DIY Skin
The most important part of adhesives is making sure the surfaces are clean and dry. Lunchbox’s DIY Skin may have residue leftover from the manufacturing process so I opted to clean the surface, rough the surface with sandpaper, and clean it to ensure the best surface to laminate the fabric to. Clean first with rubbing alcohol, then lightly rub the sandpaper across the surface of the skin to agitate the surface. I followed up with one last cleaning with acetone for a prepared and clean surface.
Step 3: Adhesives

I opted for flex glue as it was an outdoor rated, flexible adhesive that I had on hand. I coated the entire front of the skin where I wanted to laminate the fabric with a very thin coat, using the spreading knife to make sure I had all the edges and folds covered.
Step 4: Position the Fabric

I then took my trimmed fabric (still larger than the skin) and layed it into the adhesive. I started on one end of the skin and layed the fabric down in a smooth motion being careful to not wrinkle or create bubbles. After the fabric is in place, I used a few weights to apply pressure as the adhesives dried overnight.
Step 5: Trimming the Extra Fabric
The next day, I was able to use a small pair of scissors to trim the extra fabric. This specific material didn’t like to be cut cleanly so I added a layer of painter’s tape to help the scissors run smoothly.
Step 6: Logos & Finishing Touches

When the skin was complete, I added a vinyl sticker of the Lunchbox logo for a bit of branding flair. If you decide to use more decoration, I hope the beauty of the DIY and fabric is showcased. You could even heat press vinyl or patches on the fabric before laminating it to the skin!

The laminating with adhesives technique is a beginner and easy way to decorate a Lunchbox DIY skin without expensive machinery or time consuming hand sewing. The seemingly endless variety of texture, color, and materials offered at a fabric store allow you to create the perfect skin for your next festival!