Ashley's Crocheted DIY Skin Design

June 08, 2023
Written by Ashley Fairbank, lunchbox fam member
I joined the Lunchbox family in 2022 and while I purchased additional skins, the DIY Skin always sat in the back of my head. “What can I do with it?!” The first idea that came to my head was “Paint on it!” but the fact of the matter is, I am terrible with a lot of drawing mediums. My niche is fibers.
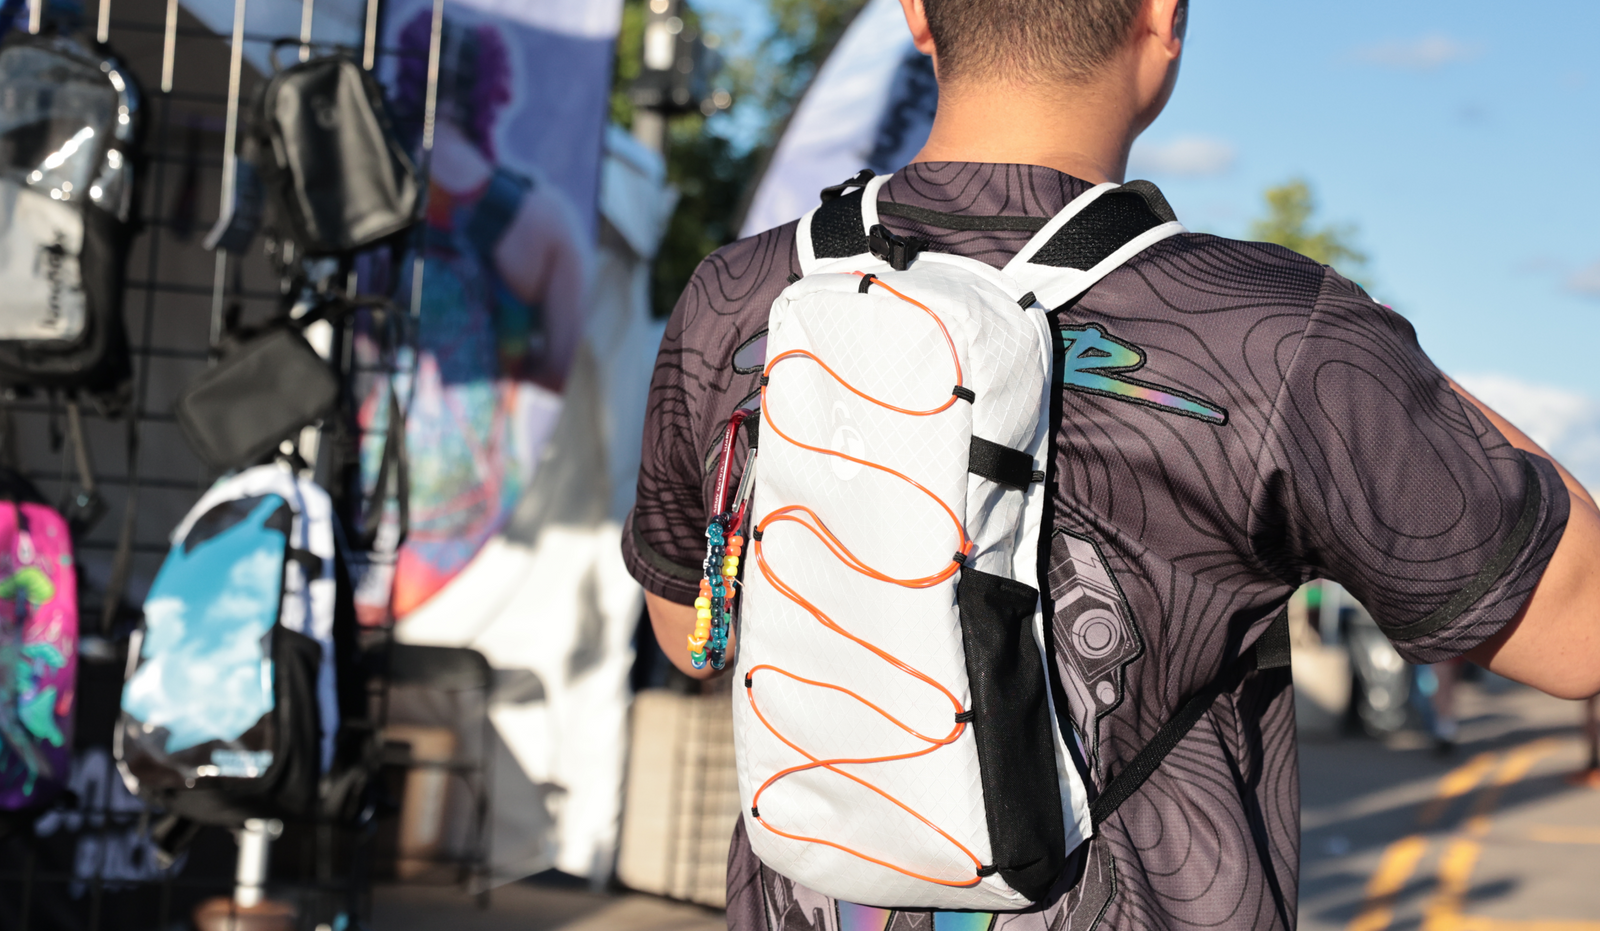
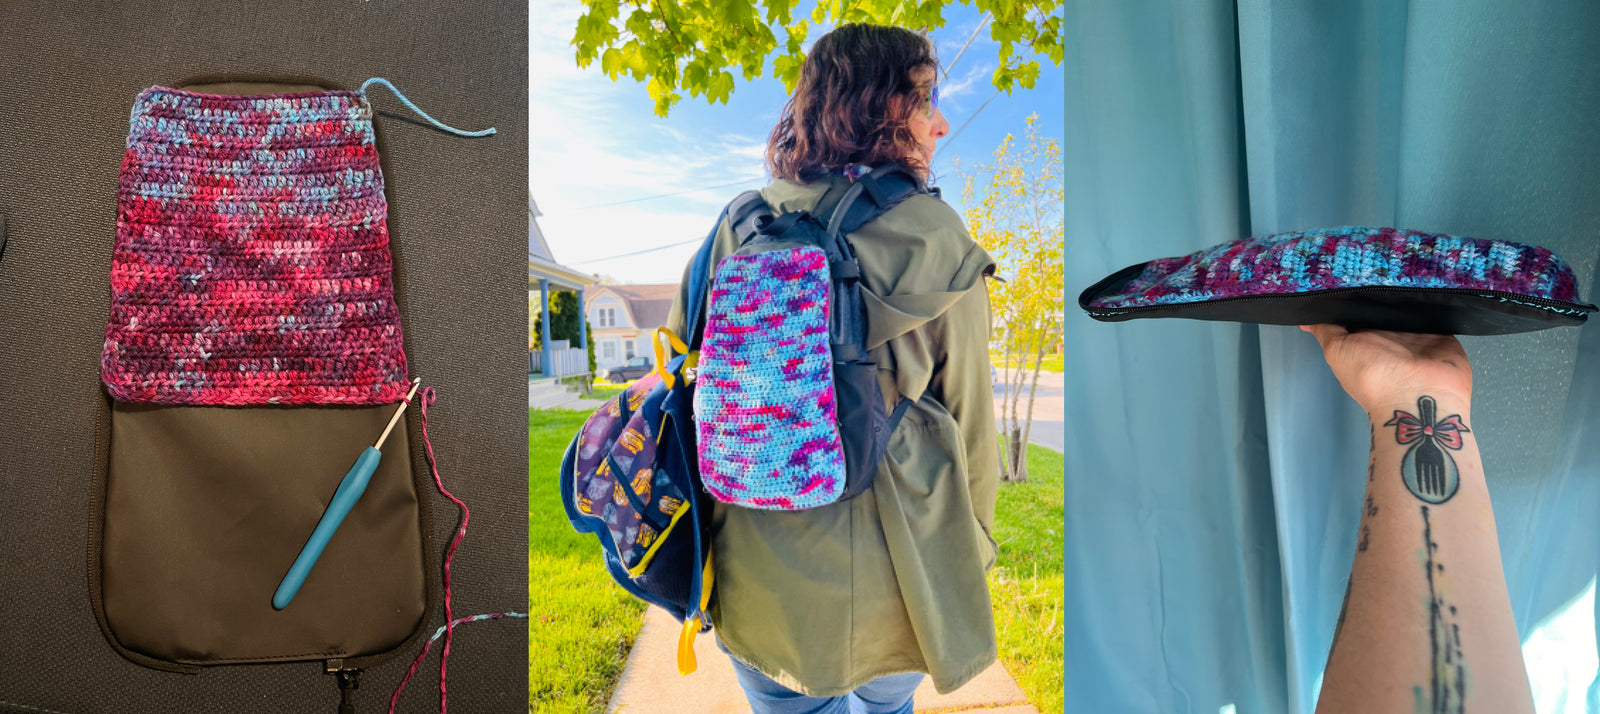
I love my pack as it does everything that I'd like it to. But one thing I did notice was that the more secure my bag was, the more anxious it made me. Crazy maybe, but I felt like having the items that weren’t as important or valuable in the same area as my items that were is what caused the anxiety. I needed an easier access pocket that didn’t jeopardize the safety of my belongings locked safely away. That is when my lightbulb turned on! If I made a pocket out of my DIY Skin, I would be able to have an area for mindless things that I may want to bring along for my adventures like snacks, gift items, and tissues.
I happened to previously hand dye some cotton yarn, so I chose that for my project so it would always remain a one-of-a-kind item.
To make one of your own you will need:
- Lunchbox DIY Skin
- Crochet Hook
- US Half Double Crochet Stitch (I chose this stitch because it is a tight stitch, but not as tight as a Single Crochet Stitch)
- Slip Stitch
- Tapestry Needle
- Thread (I used a #10 crafting thread as it’s larger than an average sewing thread)
- Yarn (I used the ‘I Love This Cotton!’ brand.)
I chose a cotton yarn because it would hold a tighter stitch than an acrylic. The ‘I Love This Cotton!’ calls for a 5.5mm hook size, I used a size 4mm as this would create smaller hole space between each stitch – resulting in less room for sagging.
I started by chaining 25 stitches (this will be the top). This count will vary on the yarn and hook size that you choose. 5 inches is the gauge for which you will want to start with.

Using a Half Double Crochet, I did 5 rows of 25, from this point I started to increase the stitches in my rows, I would lay my yarn work on top of my DIY Skin to see when I needed to increase (to increase you do two stitches in the first stitch and two stitches in the last stitch.)
On Row 6, I increased by 2, giving me 27 stitches now. I did 14 rows of 27 stitches
On Row 20, I increased by 2 again, making 29 stitches. I continued with 29 stitches through row 32.

On Row 33, I increased by 2 to 31 stitches across. I continued with 31 Stitches for rows 33-36.
This is the finished length in rows you will need. Don’t be alarmed if it looks slightly smaller, we will add a border of single crochets to make our edges look nice.
Once you’ve finished your Single Crochet border, fasten off your work and use your tapestry needle to weave in the ends on both sides of your work.
Lay your crochet piece on top of your DIY Skin and grab a sewing needle and thread. I chose a #10 thread as it is thicker and stronger.

We’ll be sewing on the Vs from your Single Crochets starting at the top of your skin by attaching to your zipper fabric. I folded the top corner inward so that it could curve nicely with the skin. When I reached the bottom of the skin that usually remains open, I sewed into the back fabric of the skin to close the pocket I was creating. I then continued to sew up the remaining side.
Annnnnnd voila! Your crochet pocket skin is ready for use! My goal is to make a new one for each event and eventually sew them all together as a festival blanket.

I love my Lunchbox Hydration Pack for more than just musical events too! My most recent adventure with my new skin was chaperoning my son’s class to the Zoo. I was able to take the jacket off I'm pictured wearing and fit it into my crochet pocket with no noticeable stretch in my pocket afterward.
Happy Hooking and I’ll see you on the dance floor!