How to Set Up Your Dream LED Skin 2.0

May 05, 2023
Let's get your new Dream LED Skin 2.0 set up and ready for your next live event.
Setting up the Dream Skin 2.0
Step 1 - Download App
Download the SpotLED mobile app on the Apple App Store or Google Play Store based on the type of phone you have.
Step 2 - Connect Skin to Power
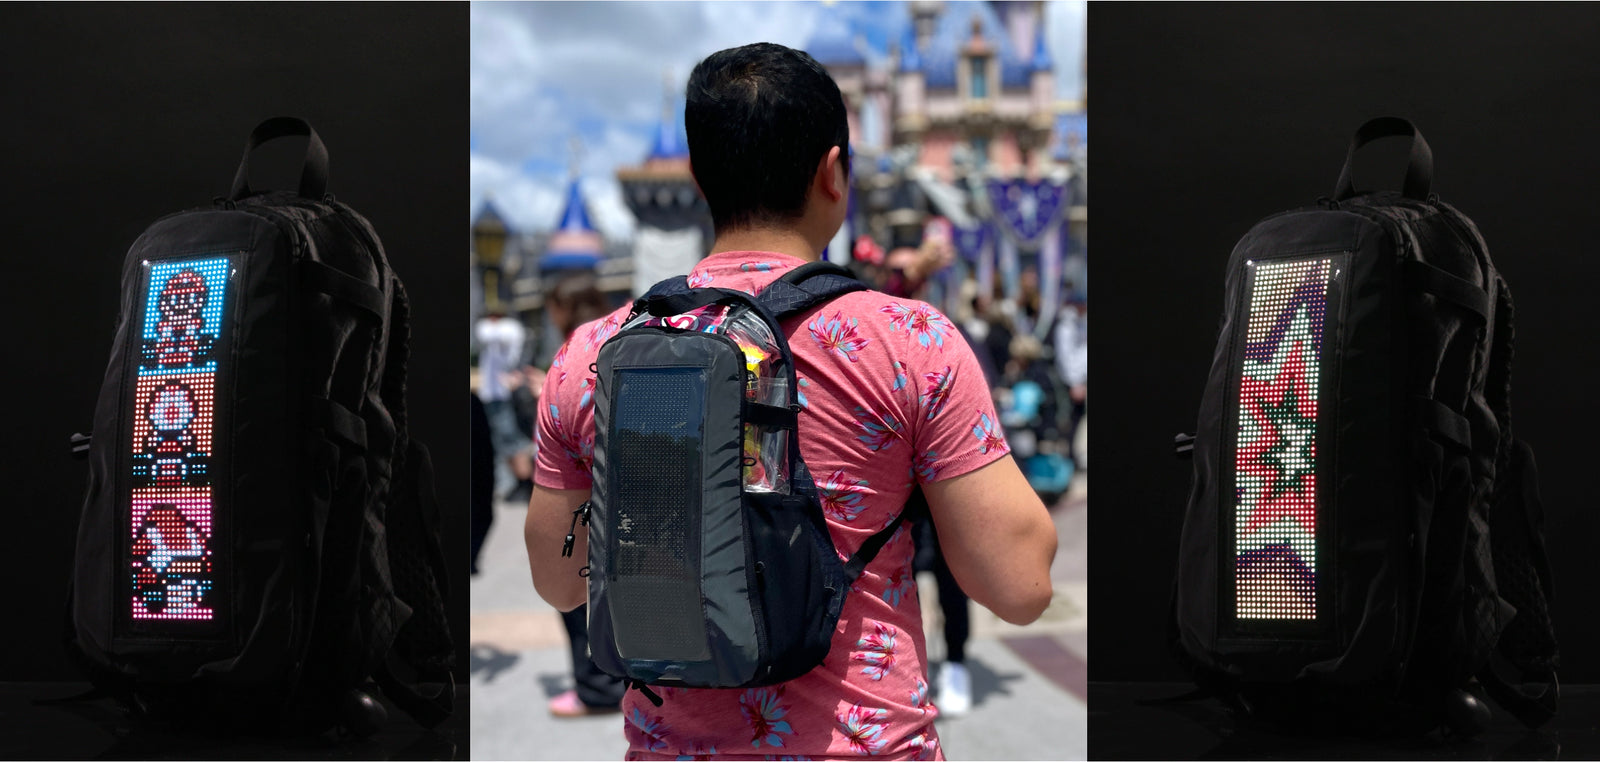
Using the provided cord, flip your Dream LED Skin 2.0 over and plug it into an external battery pack (like the Powerbox) and flip the switch on. Tuck both the battery pack and cord into the pocket and zip it up. Flip the skin back over and you should see the skin's name flashing on the LED panel.
Step 3 - Connect Skin to App
Open the SpotLED mobile app and allow access to Bluetooth. At the top of the screen in the app, click the area that says "Click to connect device." The name of your Dream LED Skin 2.0 should appear and begin with "LBXDRMSKIN_LED_."
Step 4 - Setup Hardware
Once connected, you can setup the skin's display features. Click the button on the top right which is an "i" in a circle. Scroll down to "Hardware Setup." Here you can adjust your skin's overall settings no matter the animation. Below are some definitions and suggestions:
- Global Brightness refers to the default brightness setting. We recommend starting with 50
- Global Speed refers to the default speed of your animations. We recommend 1.5x to start
- Flipping State refers to how the animations display. Scroll to the right and select the option that says "Portrait is not flipped" so that text and animations display vertically on the skin
Step 5 - Select Animations
Hit the back arrow twice to return to the home screen. To create your first animation, find the "Local" tab on the top bar, select the "Anim" button. Then under the plus sign, select the photo icon on the right and allow access to your photos.
You can then select GIFs, photos, or videos stored on your camera roll to display on your skin. You can alternatively search for GIFs, photos, or videos online and save them to your camera roll. When your skin is connected to your app, it will auto-detect the skin's size - 64x16.
Step 6 - Adjust & Save Animations
Once a visual asset is chosen, you can crop it to your liking by dragging the corners. You can also rotate the image if necessary in this step by tapping the 90 degree with an arrow button on the bottom left. Note that you should orient your image horizontally (landscape) where the top of your image is on the left side of the rectangle and the bottom on the right side. Tap the check mark again once you're finished editing.
On the next screen, hit the orange play button to render the animation. Don't worry if your animation looks pixelated in the app as it will display much clearer on the skin. Your skin will blink with a white downward facing arrow as the animation uploads. Once uploaded, you can adjust the speed on your app. Upon finding your preferred animation speed, hit the orange play button again to update the animation on your skin.
To save your completed animation, hit the green save button on the bottom right. Rename the asset and hit confirm. This will save it to your app under the "local" tab.
Downloading Animations & Playlists
Step 1 - Cloud Animations
To get you started, there are many existing animations that you can use. On the home screen, locate the planet icon on the bottom bar. Then click the filter icon on the top right below the magnifying glass. Choose 64x16 then "Determine" as only these animations will display properly on your skin.
Click on an animation that you like, then click on the cloud icon with the downward arrow to download it into the app. Click out of the animation, then tap the lightbulb icon on the bottom bar to get back to your home page. Your animation will show under your local tab. Click on it, then hit the play button and it will appear on your skin.
Step 2 - Create a Playlist
To create a loop of multiple animations at once, you need to create a playlist. Once you have added and edited the various GIFs, photos, or videos on the app, they will be displayed under the "local" tab on the home screen.
Click the "playlist" tab and tap the plus sign, and select all the animations that you want to include in the playlist by clicking on the asset. Once all assets are selected, tap the check mark on the top right of the screen.
All of your selected animations will display on the next screen. The number next to each asset with a "+/-" sign indicates the number of times you want this asset to loop before moving onto the next. Adjust to your preference. Once everything looks good, tap the green save button on the bottom right corner and name your playlist.
Next to your named playlist, tap the orange play button and the playlist will display on your skin after rendering.
FAQs
Does the Dream LED Skin 2.0 have more LEDs than 1.0?
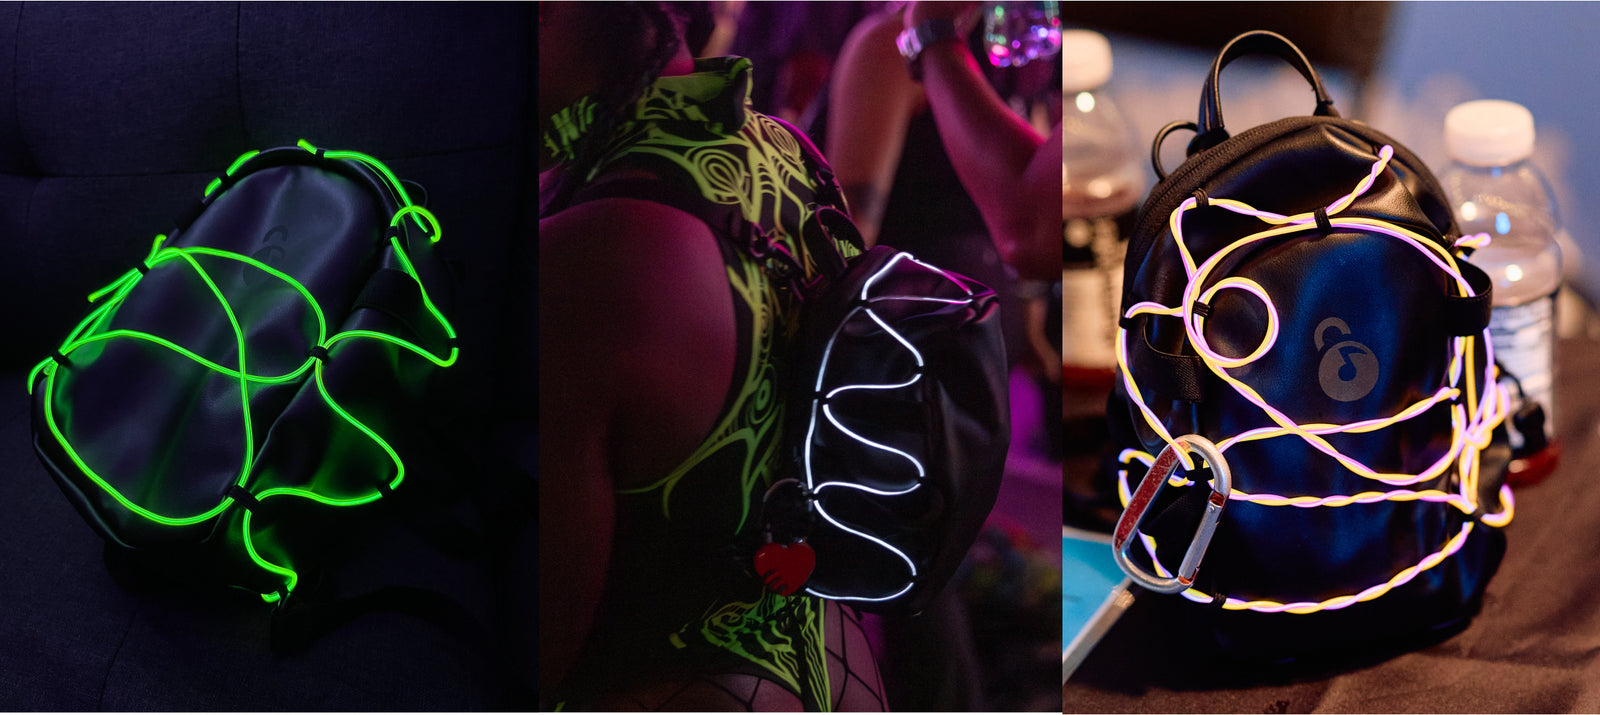
Yes! The Dream LED Skin 2.0 has more than double the number with 1024 LEDs in total.
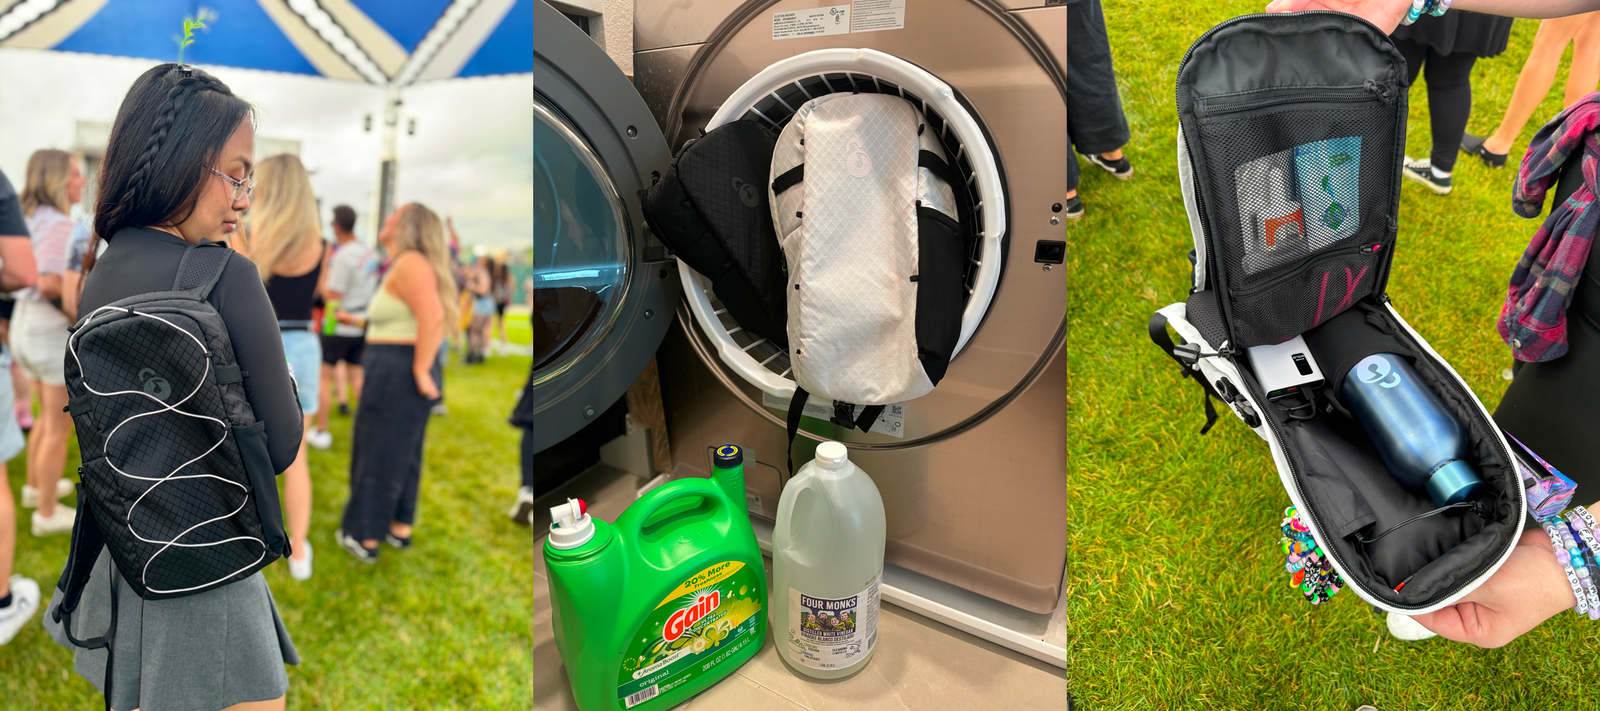
Yes! The Dream LED Skin 2.0 has been redesigned with high quality durable material so that it can be loosely rolled and stored in the top pocket of the Lunchbox Hydration Pack, but please avoid hard folds and sharp creases. We do not offer any guarantees or refunds for cracked LEDs or traces due to misuse.
Can the Dream LED Skin 2.0 display animations?
Yes! You can download/save your favorite GIFs, photos, or videos to your mobile device and send it directly to the skin using the SpotLED mobile app.
Can I create groups of animations to display?
Yes! Playlists can be created in the SpotLED mobile app and downloaded to the skin.
Can I share my animations?
Yes! You can upload your animations to the cloud and share with others to use.
Do I need to save my animations on a SD card?
No, all the animations you create are saved in the app on your mobile device or in the cloud.
Still have questions? Contact customer support at fam@itsmylunchbox.com or in our lunchbox fam facebook group. We look forward to seeing your awesome creations light up the dance floor at the next live event!