Jess' Anjuna Ribbon DIY Skin Masterpiece

October 30, 2023
Written by Jess Mose, lunchbox fam member
Hi there, lunchbox fam!
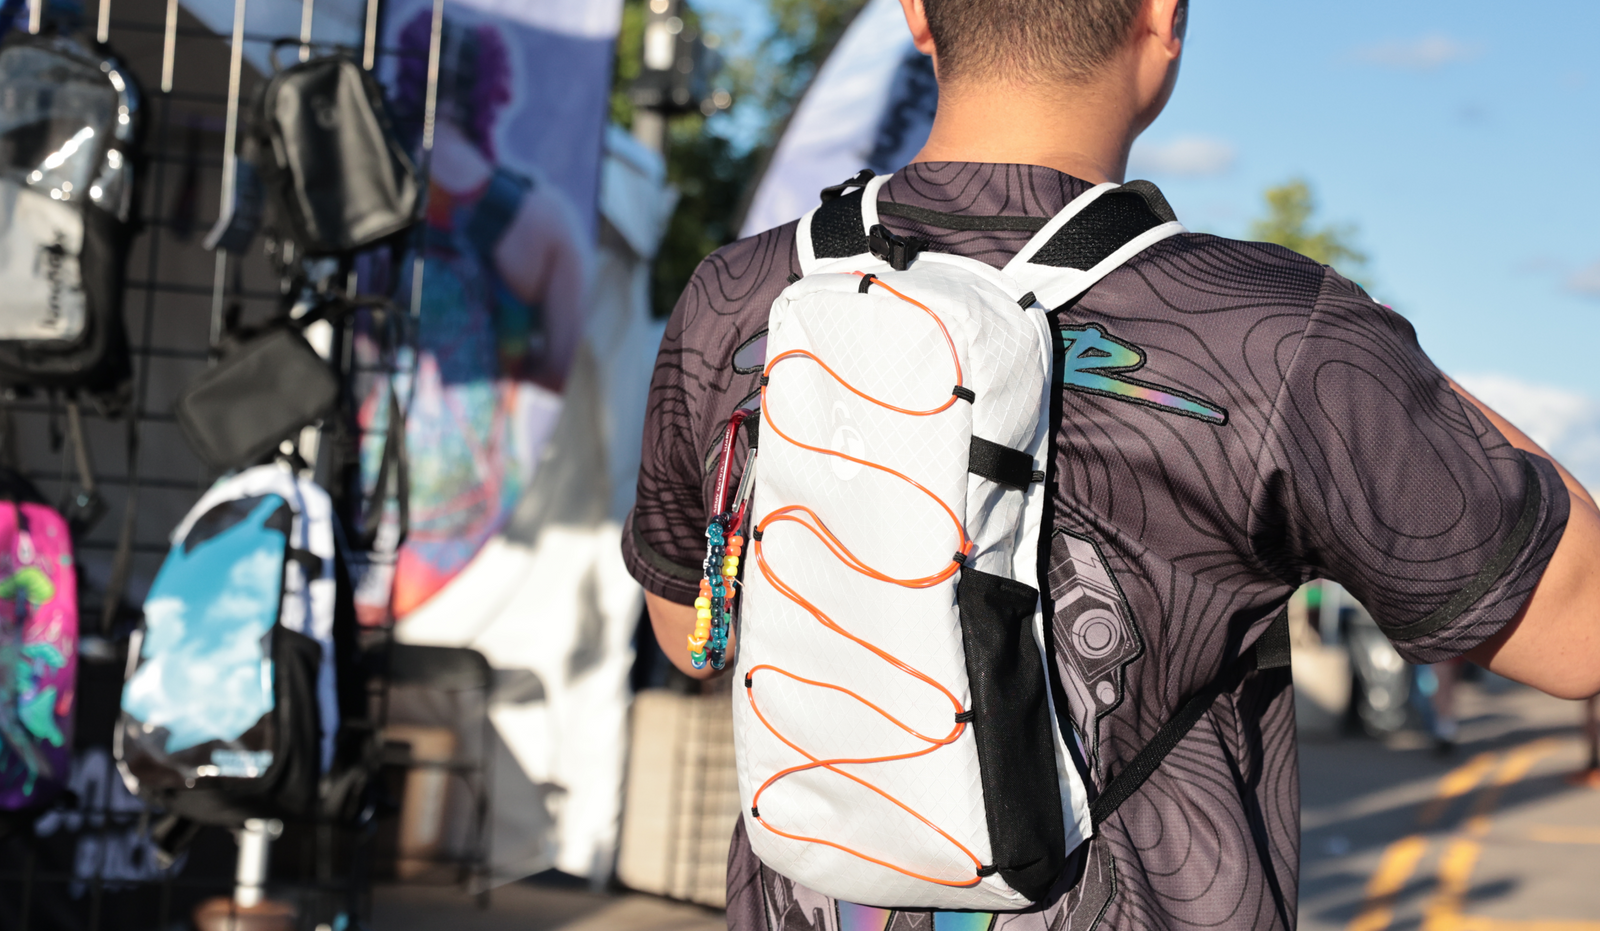
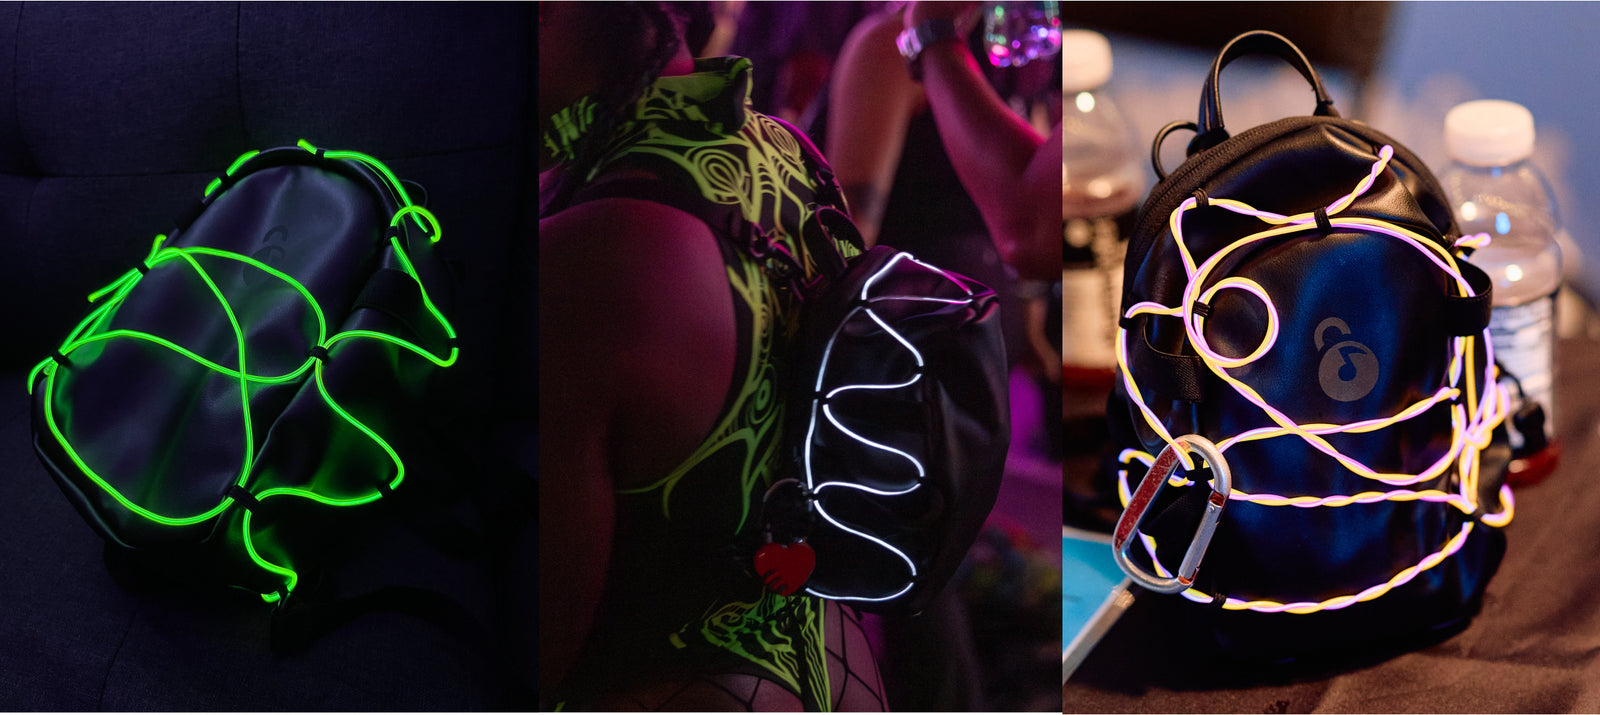
While I love the safety features of my lunchbox hydration pack, the ability to customize and swap out different skins really sold me on buying one! Any excuse for an art project, right?
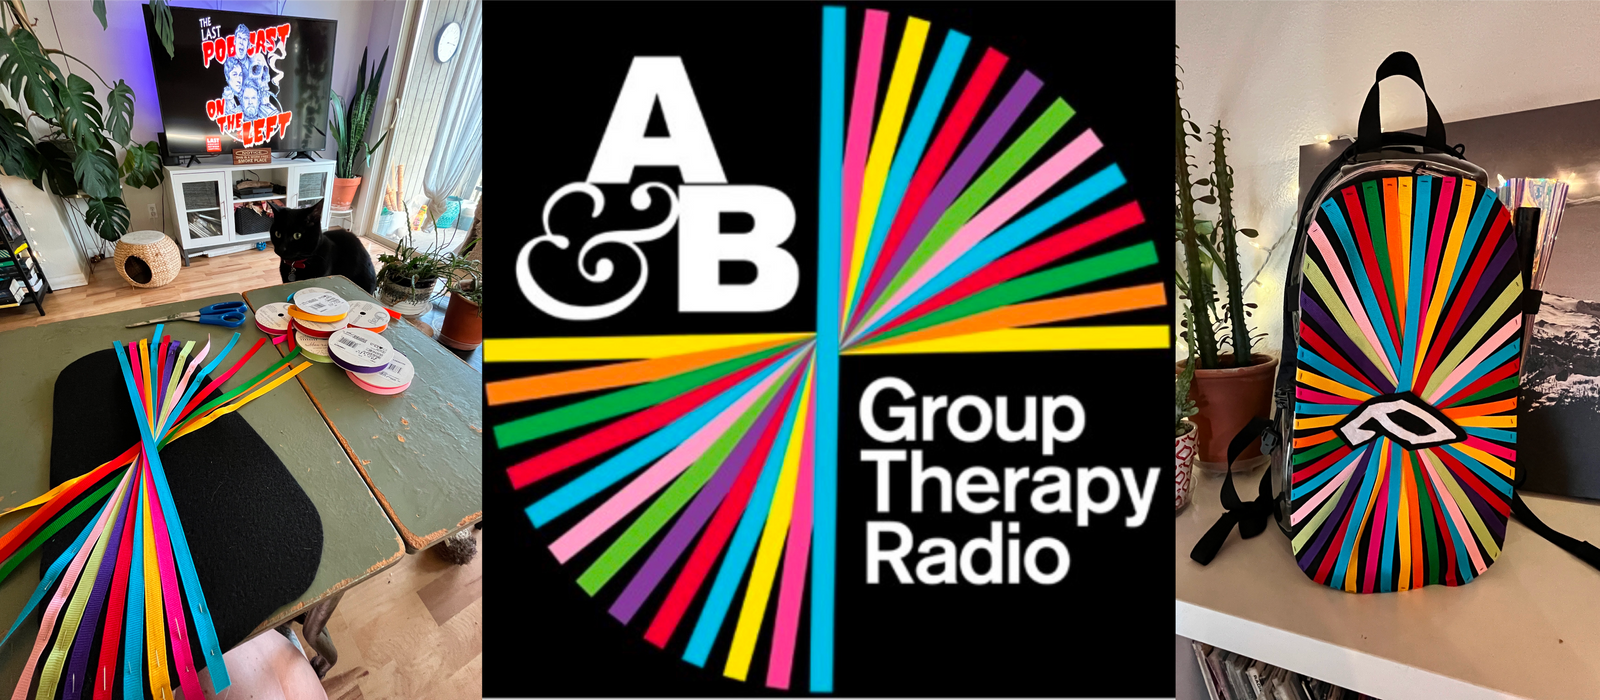
I received my pack before the Group Therapy Weekender at The Gorge and just HAD to make an Anjuna themed skin for it. I’m a weekly listener of Above & Beyond Group Therapy (ABGT) and really wanted to bring the show’s logo to life.
Materials Needed:
- 1 DIY Skin (the skin that comes with the pack will work too!)
- Ruler
- Pencil
- Tracing paper (I used baking parchment paper from my kitchen.)
- Fabric scissors
- Black sewing thread
- White Sewing thread
- Sewing needle (Thick enough to pierce through ribbon and the skin.)
- Ball point pins
- 3/8 in Ribbon (I used a ribbed ribbon and referencing the ABGT logo, bought 1 spool of ribbon for each color line.)
- 2 black felt squares
- 1 white felt square
- E-6000 glue (I used black, white should work too.)
Draw out your design! I traced out the fabric face of the DIY skin on to a piece of parchment paper to replicate the area of the skin I’d be working with. I then used a ruler and pencil to figure out how to lay out the ribbons to work with the rounded shape of the skin.
Once I was confident my idea would work, I used my parchment paper (already cut in to the shape of the DIY skin) and cut the piece of black felt out in the shape of the skin. When the felt is fully cut, it should be able to fit on to the skin face without interfering with the zipper.
Cut and lay out the ribbons! Using the ABGT logo photo as a reference, I figured out what color ribbon I would need for each length of ribbon. I laid out the ribbon against my piece of cut out felt and cut the ribbon slightly longer than the felt. I worked in a clockwise order, starting with the blue middle ribbon and laid each consecutive ribbons slightly diagonally underneath the blue ribbon to create a curve. Once I was satisfied with the position of a ribbon, I pinned it to the felt with a ball point pin.

When all of my ribbons were placed and pinned, I went along the edge of the felt piece and stitched each ribbon in to its place. I wanted my ribbons to look flush with the edge of the felt, so I tucked the end of the ribbon over the edge of the felt and sewed it in place so that the ends of the ribbons would lay flat on the backside of the felt. Once all my ribbons were sewn on, I went along the back of the felt piece and trimmed down the ends of the ribbons.
For the Anujuna symbol, I traced the outline of the Anuja symbol from an online photo and used the cut out tracing to cut out a piece of white felt. I then used the white cut out felt Anjuna symbol to cut out a slightly larger black felt Anjuna symbol. I placed the white felt symbol on top of the black felt symbol and used the white thread to sew them together. I then positioned it on to the black felt piece with ribbons and used black thread to sew it in to place.

For my final step, I put a generous amount of E-6000 glue on the face of the DIY skin and lowered my felt piece on to it (with the decorative side facing up). I found that it was helpful to use chip clips and the weight of a small, heavy book to help bond the glue to the DIY skin.