Maggie's Lightshow Wire DIY Skin Creation
September 16, 2022
Written by Maggie Chan, lunchbox fam member
Hi Lunchbox Fam, my name is Maggie and I’m excited to share my Lightshow Wire DIY Skin with you all! I love seeing all of the unique customization ideas in the group and I was excited to try my hand at a design that incorporated Lightshow Wires and the black logo skin that comes with the Lunchbox Hydration Pack. In addition to the one Snowfall Lightshow wire that the pack comes with, I ordered two bonus wires that came with a three-way splitter (not used in this design). Additional items I used are a single 1-meter long Electroluminescent (EL) wire, a 5-way EL splitter with controller battery, a ¼” grommet tool kit, black electrical tape, a scissor, and a small hammer.
I was originally inspired by other peoples’ Lightshow wire loop attachment boards that had dj logos cut out and the wires threaded through. I thought the use of negative space was brilliant and I wondered if I could recreate that look with grommets directly on the Lunchbox skin instead of a 3D-printed attachment.

As I played around with the Lightshow wires, I found that rounded curves and loops worked best instead of hard corners. I punched two grommet holes per wire, one for passing from under the skin to the outside, and then one for passing the end of the wire back under the skin. You can try to fit a wire both in and out of the same ¼” grommet hole, but you might have to remove the end cap and it will be a tight fit.
Next, I started feeding my lightshow wires from the battery pack in the top interior pocket, through the hose hole, down the side of the pack and up into the opening from the bottom of the skin. The length starting from the bottom of the skin until the end of the wire is how much room you have to make up your design. The first pair of grommets on the top right is where I started working because it has the farthest distance from the battery pack and the least slack to work with.
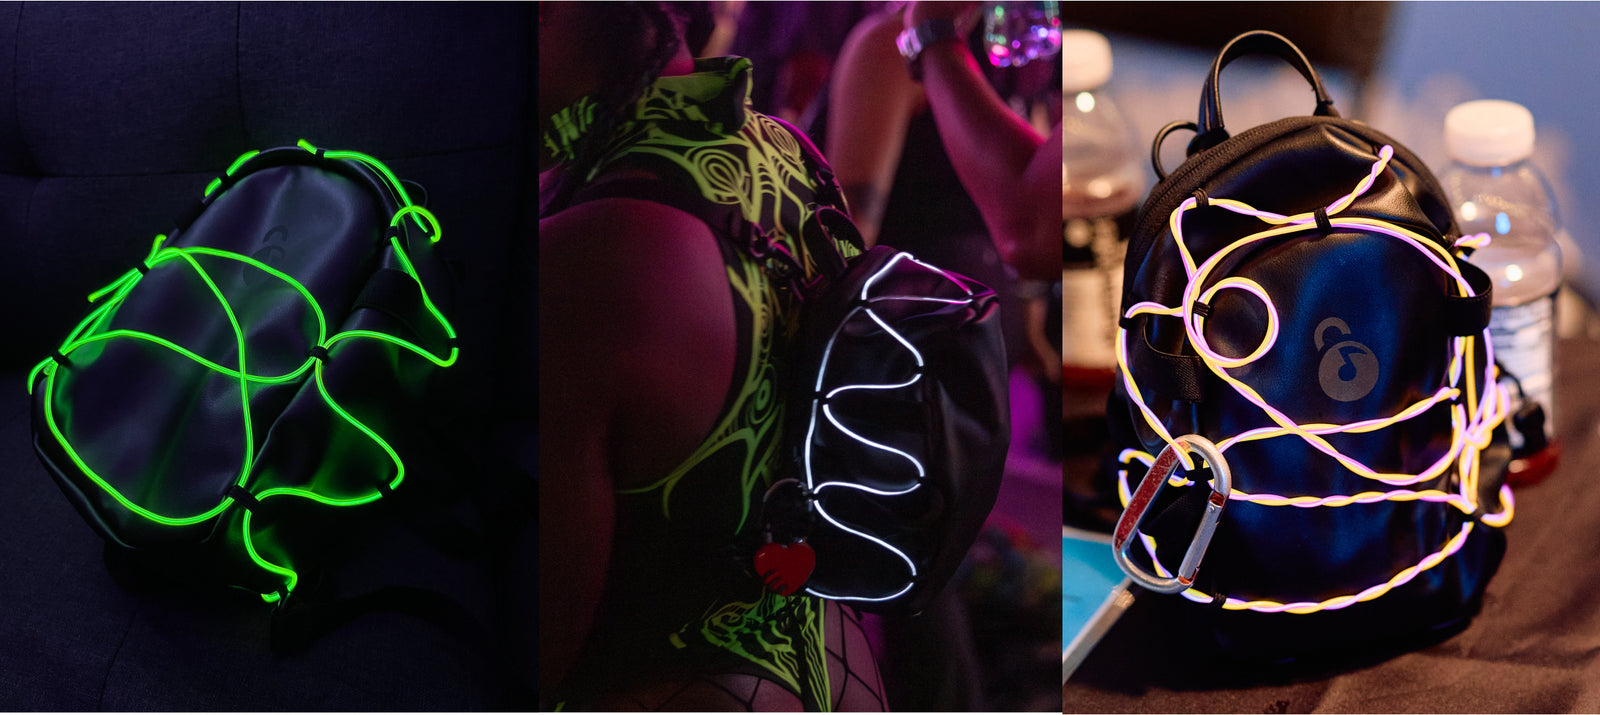
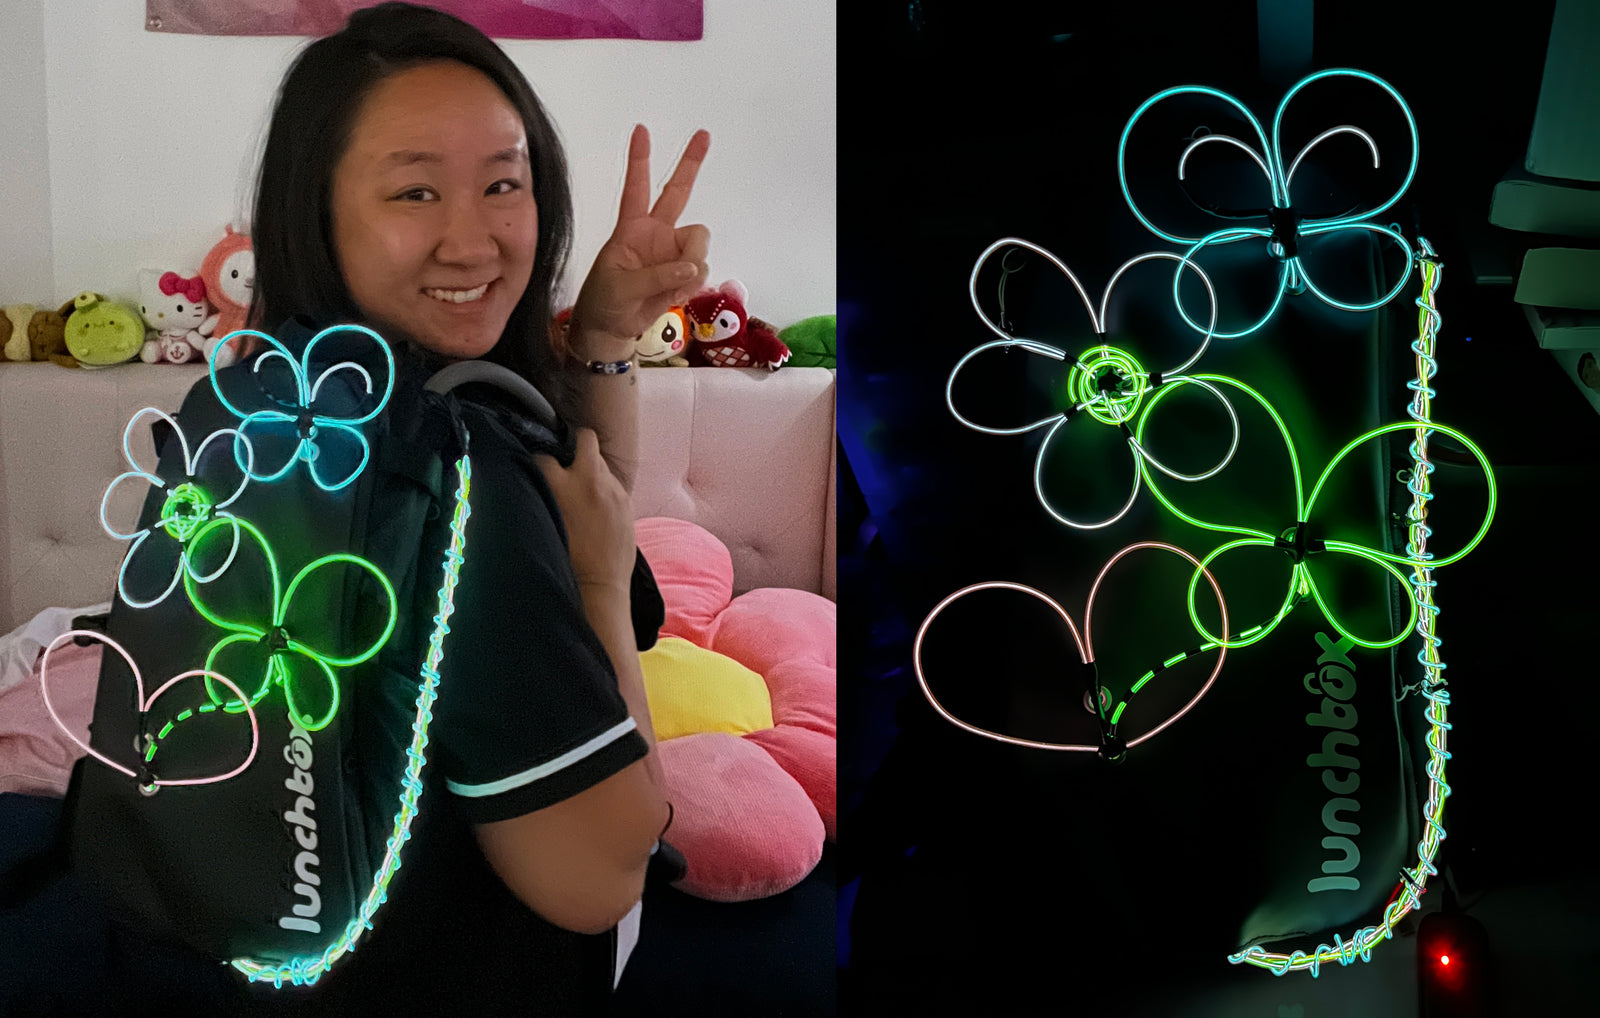
For the butterfly shape, I formed a lightshow wire into 4 loops, the pair on top a bit larger than the bottom. The flower is basically like the butterfly shape but with an extra loop of equal size. I used black electric tape to secure the design because tape is easier to handle and also helps create negative space like you can see on the antennas and the lower butterfly trail.
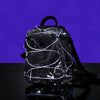
Here is the finished product in light and in the dark.

On the interior of the skin, I used black tape to manage the wires so that they are extra secure.

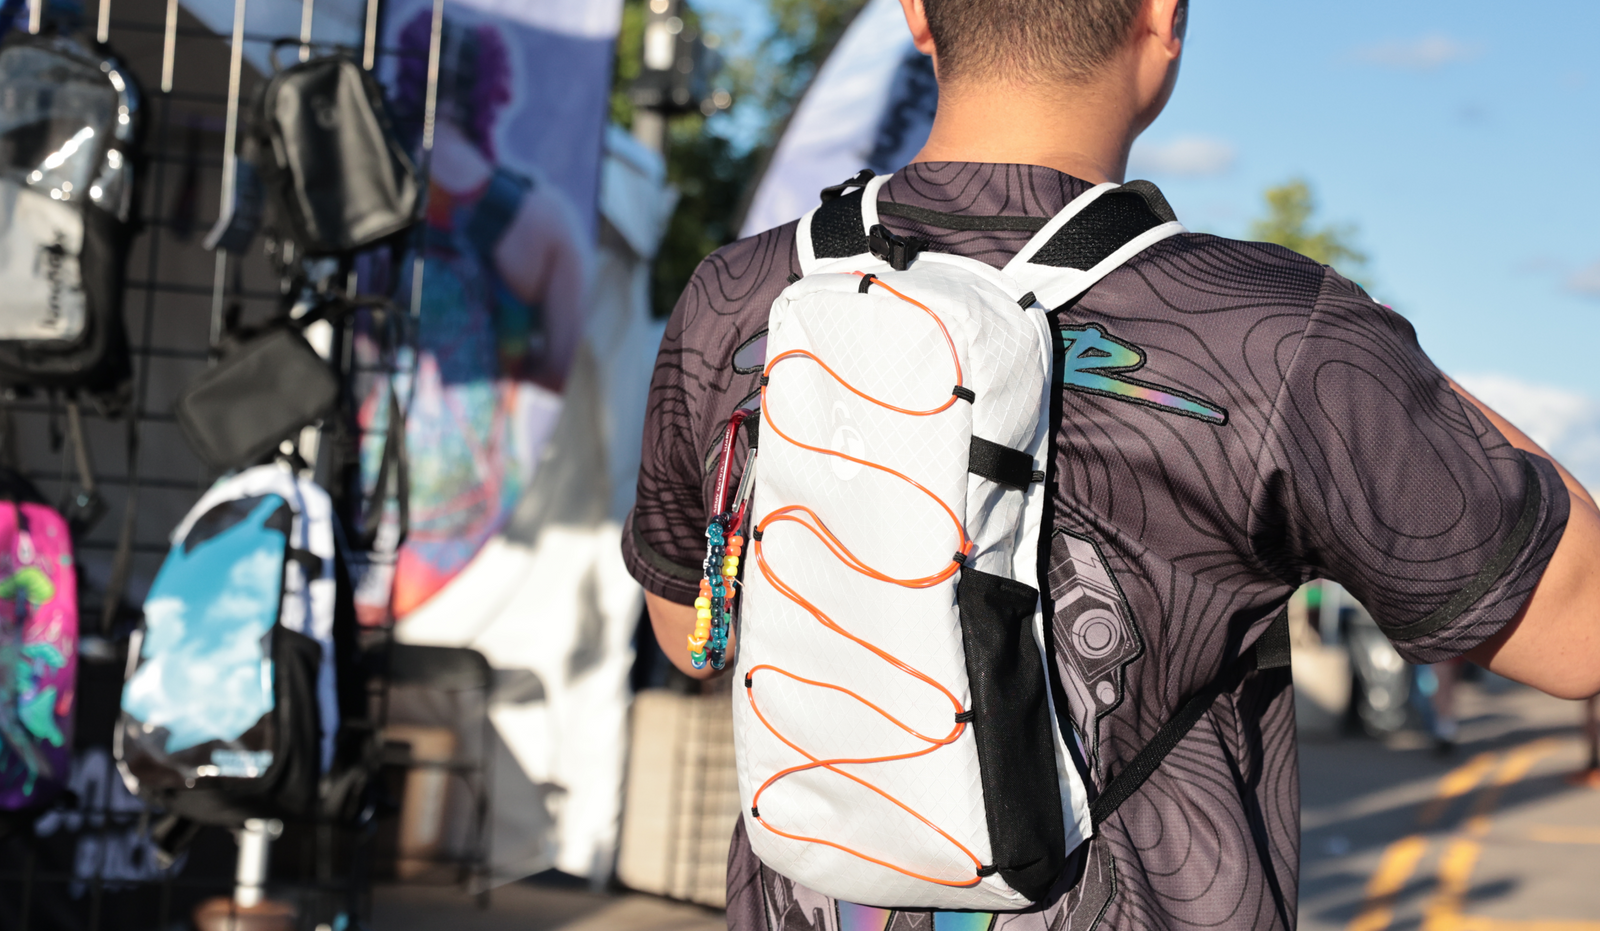
I hope this gives you all some inspiration to make your own custom Lightshow wire designs on (or off) your skins! You can totally make fun shapes and attach them to your pack using the built-in loops on the pack if you want to skip the grommet punch steps!


