Michelle's Medusa DIY Skin Design
April 21, 2023
Written by Michelle McPherson, lunchbox fam member
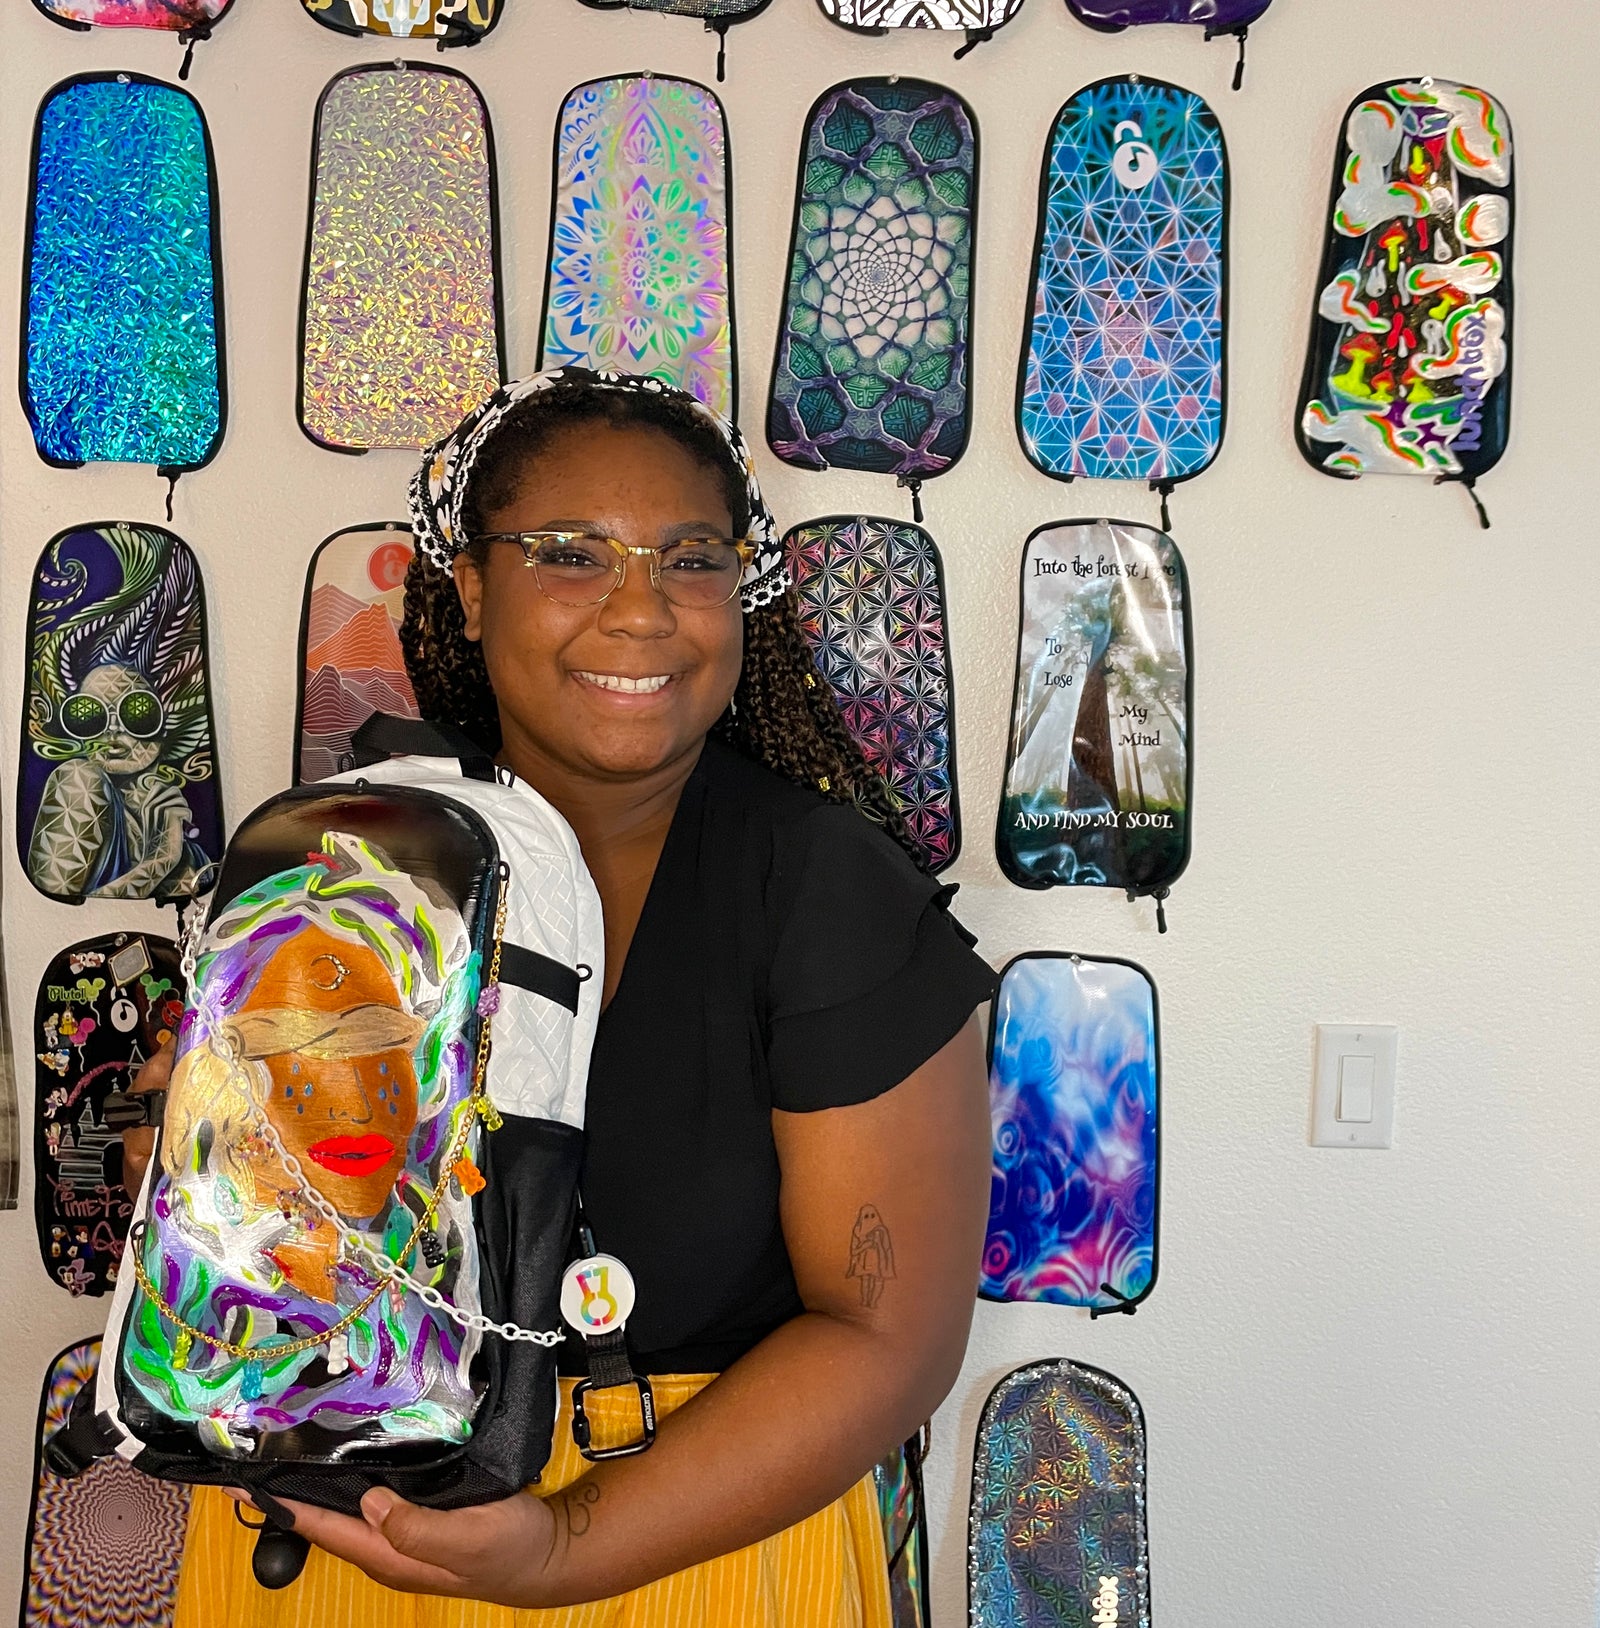
Do you ever have a design that just won’t leave your thoughts? Typically, I would just full send it and make an appointment to get that design as a new tattoo, but this time I decided to channel this creativity onto a different medium – a lunchbox DIY skin!
Trigger Warning: The following includes mentions of sexual assault.
The inspiration for this skin is Medusa who is a symbol for sexual assault survivors (SA). She represents the fight for SA survivors to take back their own narrative and identity.
Towards the beginning of the pandemic, I was on a Bumble date, where I lost my virginity to sexual assault. It was a painfully traumatic experience, that I don’t believe I will fully heal from, but an experience that forced me to become a stronger woman. The healing journey started with facing many more demons, but eventually lead me to rediscover myself through lots of mindfulness, community, and learning what real love looks like from every aspect.
Through the power of music and Lunchbox, I found a part of myself that I was always looking for, real love and acceptance. I created my Medusa skin to proudly show that I am a safe place for anyone who may be struggling with their journey.
Materials:
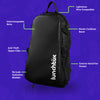
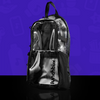
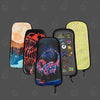
- Lunchbox DIY Skin
- Pencil
- Acrylic Paints
- Paint brushes of different sizes
- Mod Podge
- Jewelry pendant
- Disposable Cup w/ water
@lunchboxpacks a touching DIY skin and story from fam member @meeeshelll23 🫶 thank you for sharing, we love you! #lunchboxfam #lunchbox #ravetok #edmtiktok #ravers #raversoftiktok #ravefashion #festivalfashion #diy #art #diyart #sasurvivor #survivor #festivaltok ♬ original sound - lunchbox
Step 1

Translate your thoughts and ideas onto paper. Then roughly sketch out your design onto the skin using the pencil.
Step 2
Paint the base layer of your design. Let it dry completely (for an hour or so) before moving onto the next step.
Step 3

When the base layer completely dry, add in the fine details or add a second layer if you’d like. Play around with the different sized brush tips to achieve the of detail and contrast that you'd like.
Step 4
This is where I hand stitched in my jewelry pendant. If using any elevated items, make sure it’s secure! Don’t want to lose it, when you’re lost in the beat of the music.
Step 5

Brush mod podge over everything. Make sure you use nice and even strokes so that the layer dries evenly. After you let it dry for about an hour, touch and see if your full design is covered. If not, add another layer.
And that's a wrap! I hope this gave you some tips and inspiration on how you can manifest your own design ideas into reality on a lunchbox DIY skin! If you spot my skin in the crowd, don't worry you won't turn into stone. But please do say hi 😊

