Victoria's Custom DIY Skin Creation

October 23, 2022
Written by Victoria Feng, lunchbox fam member
When I first got my lunchbox pack, I didn’t quite know the wormhole I was about to go down with DIY skins. I’ve found that swapping skins and creating new ones for various events has been one of my favorite things about the pack (not having to worry about my stuff being stolen is a huge plus too haha). The skins have been a way to make my pack an extension of my outfit as well as a way to creatively express myself and start conversations and make connections with other fellow ravers.
My most recent skin was one that I painted for Nocturnal Wonderland/Lost Lands and I was able to use UV/glow paint for the first time and I have to say this is probably my favorite skin I’ve painted so far.
Here’s a bit of a run down on how I make these skins come to life :)
Getting started, the basic materials I typically use are:
- Lunchbox DIY skin
- Pencil
- Paint (I’ve used a couple different types including UV glow paint, acrylic paint pens, and fabric paint)
- Acrylic Sealing Spray

In the past I’ve painted on both the DIY skin and the original black skin that comes with the pack, they’re slightly different textures, but both work fine with paint and paint markers. When choosing paints, you just have to keep in mind that the paint needs to be flexible.
To start any skin I usually come up with a concept and pull some inspo images off the internet. Before any paint even hits the skin I usually have a sketch with some rough idea of where the elements are placed on the skin and the general color palette I’m going for. Some inspo for skins has come from my favorite artists and festival themes!
For this specific skin the UV/glow paint required a white base coat for the colors to glow and get full opacity. So to create the layered leaf and floral look I was going for I had to paint the elements in stages, layering white base coat (a fabric paint) and a couple layers of the glow paint. I really liked using the paint colors to give the leaves more dimension and a bit of a more fantastical touch with the contrasting colors.
To finish the skin off, I used a white paint markers to add a few more details to the leaves and flowers. I also used some glitter glue to add some shine to the butterfly wings and sealed everything off with a couple coats of clear acrylic sealing spray (bought off of amazon and comes in a spray paint style can).
See below for a bit of a step by step with the final skin at the end and my TikTok showing the full process!

In the past I’ve also created skins with acrylic paint markers which are a bit easier to use and feel just like you’re drawing on paper. Same deal with drawing on your design and sealing it with a couple coats of acrylic sealant spray. I’ve definitely put these skins through the wringer and the sealant spray has been a pretty key part in that.
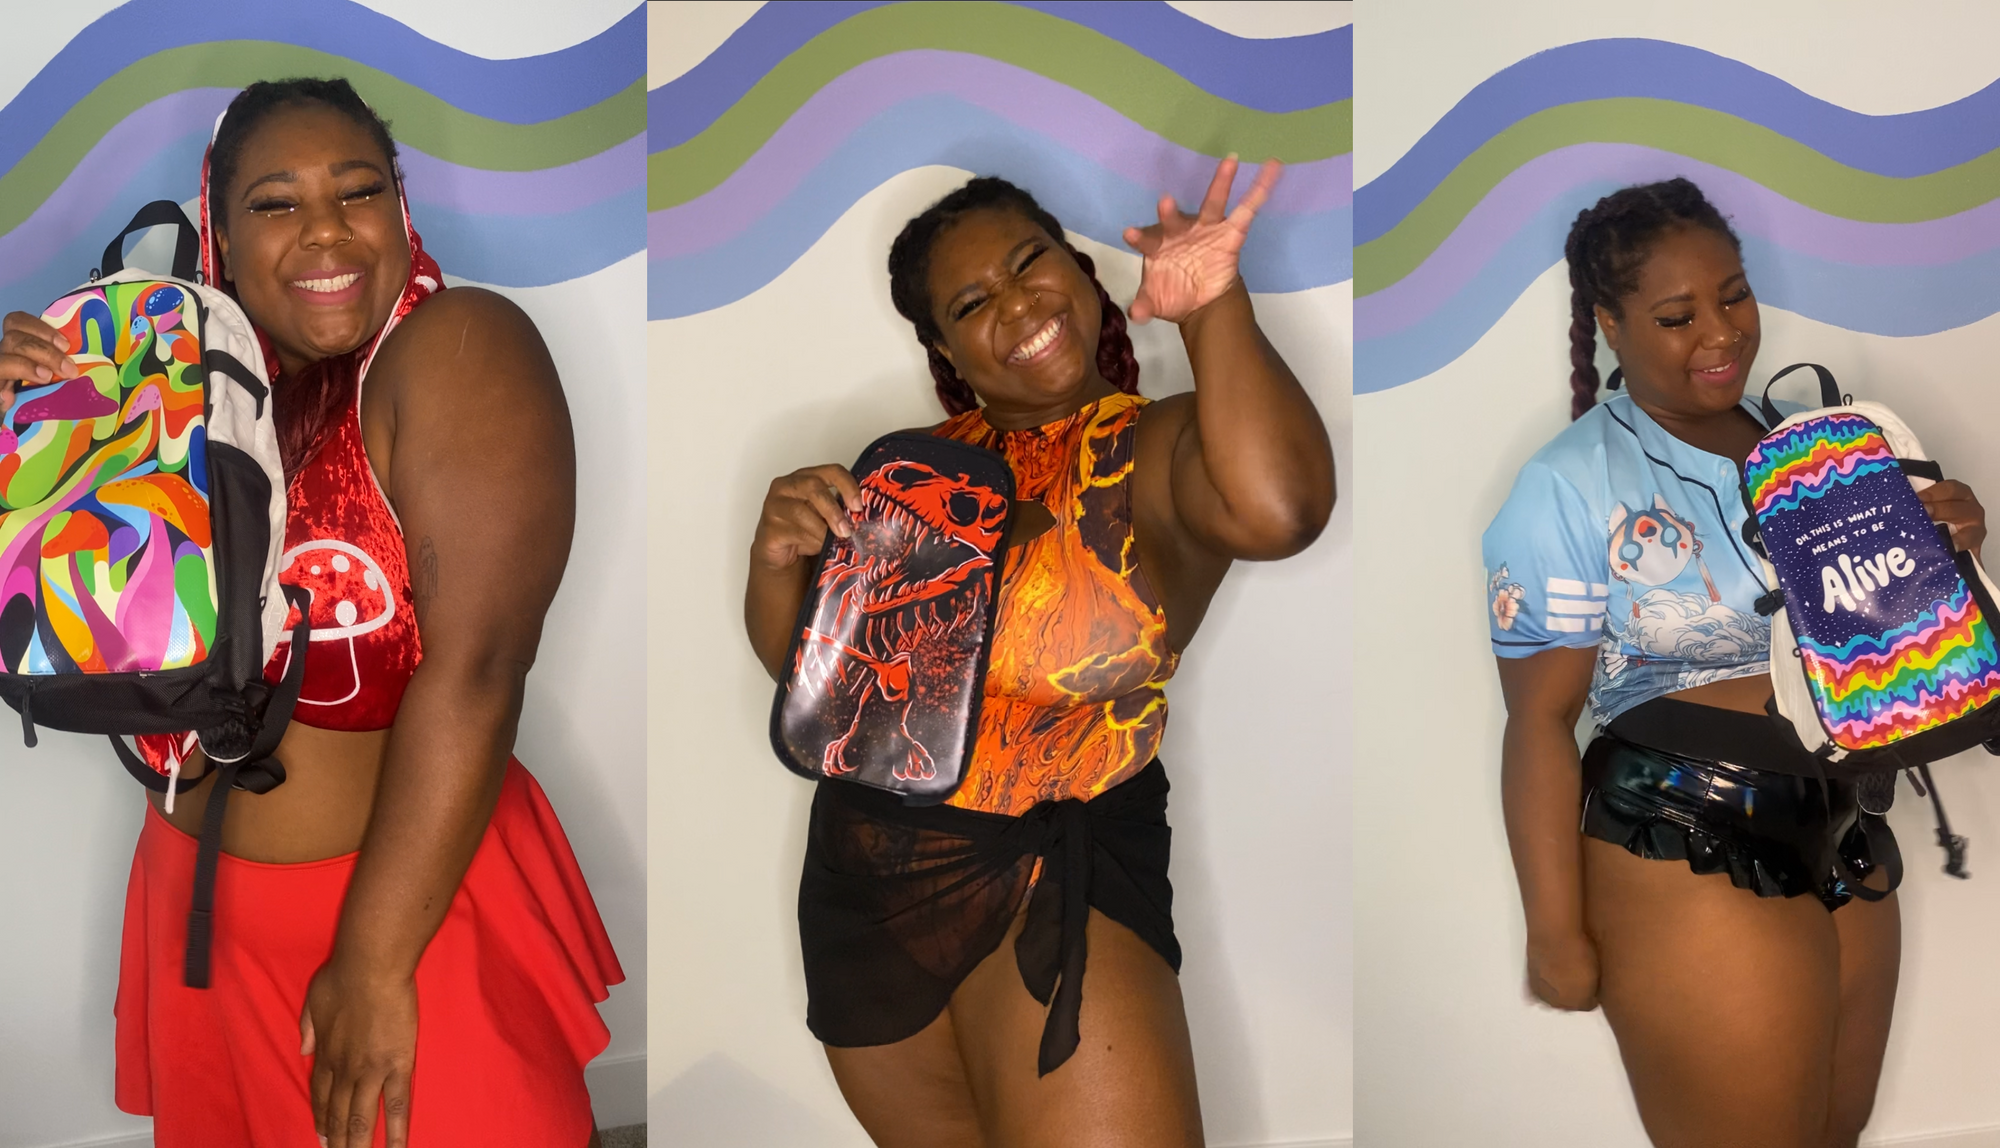
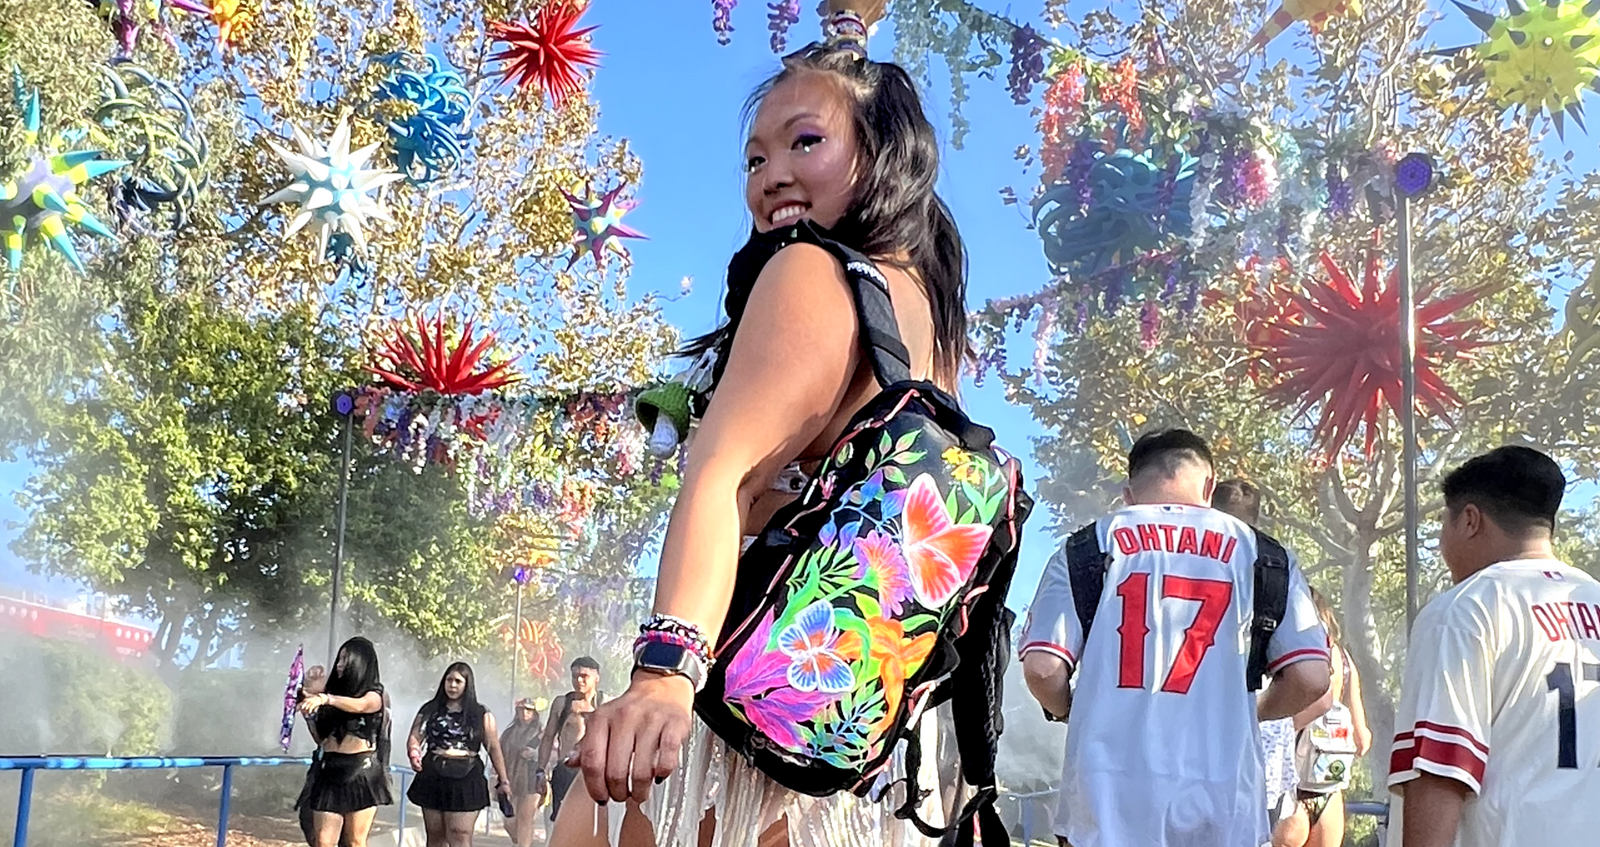
Here is my current DIY skin lineup and them in action, can’t wait to create more!