Chris G's DIY Shimmering Sticker Skin

January 17, 2023
Written by Chris Goodly, Lunchbox Fam Member
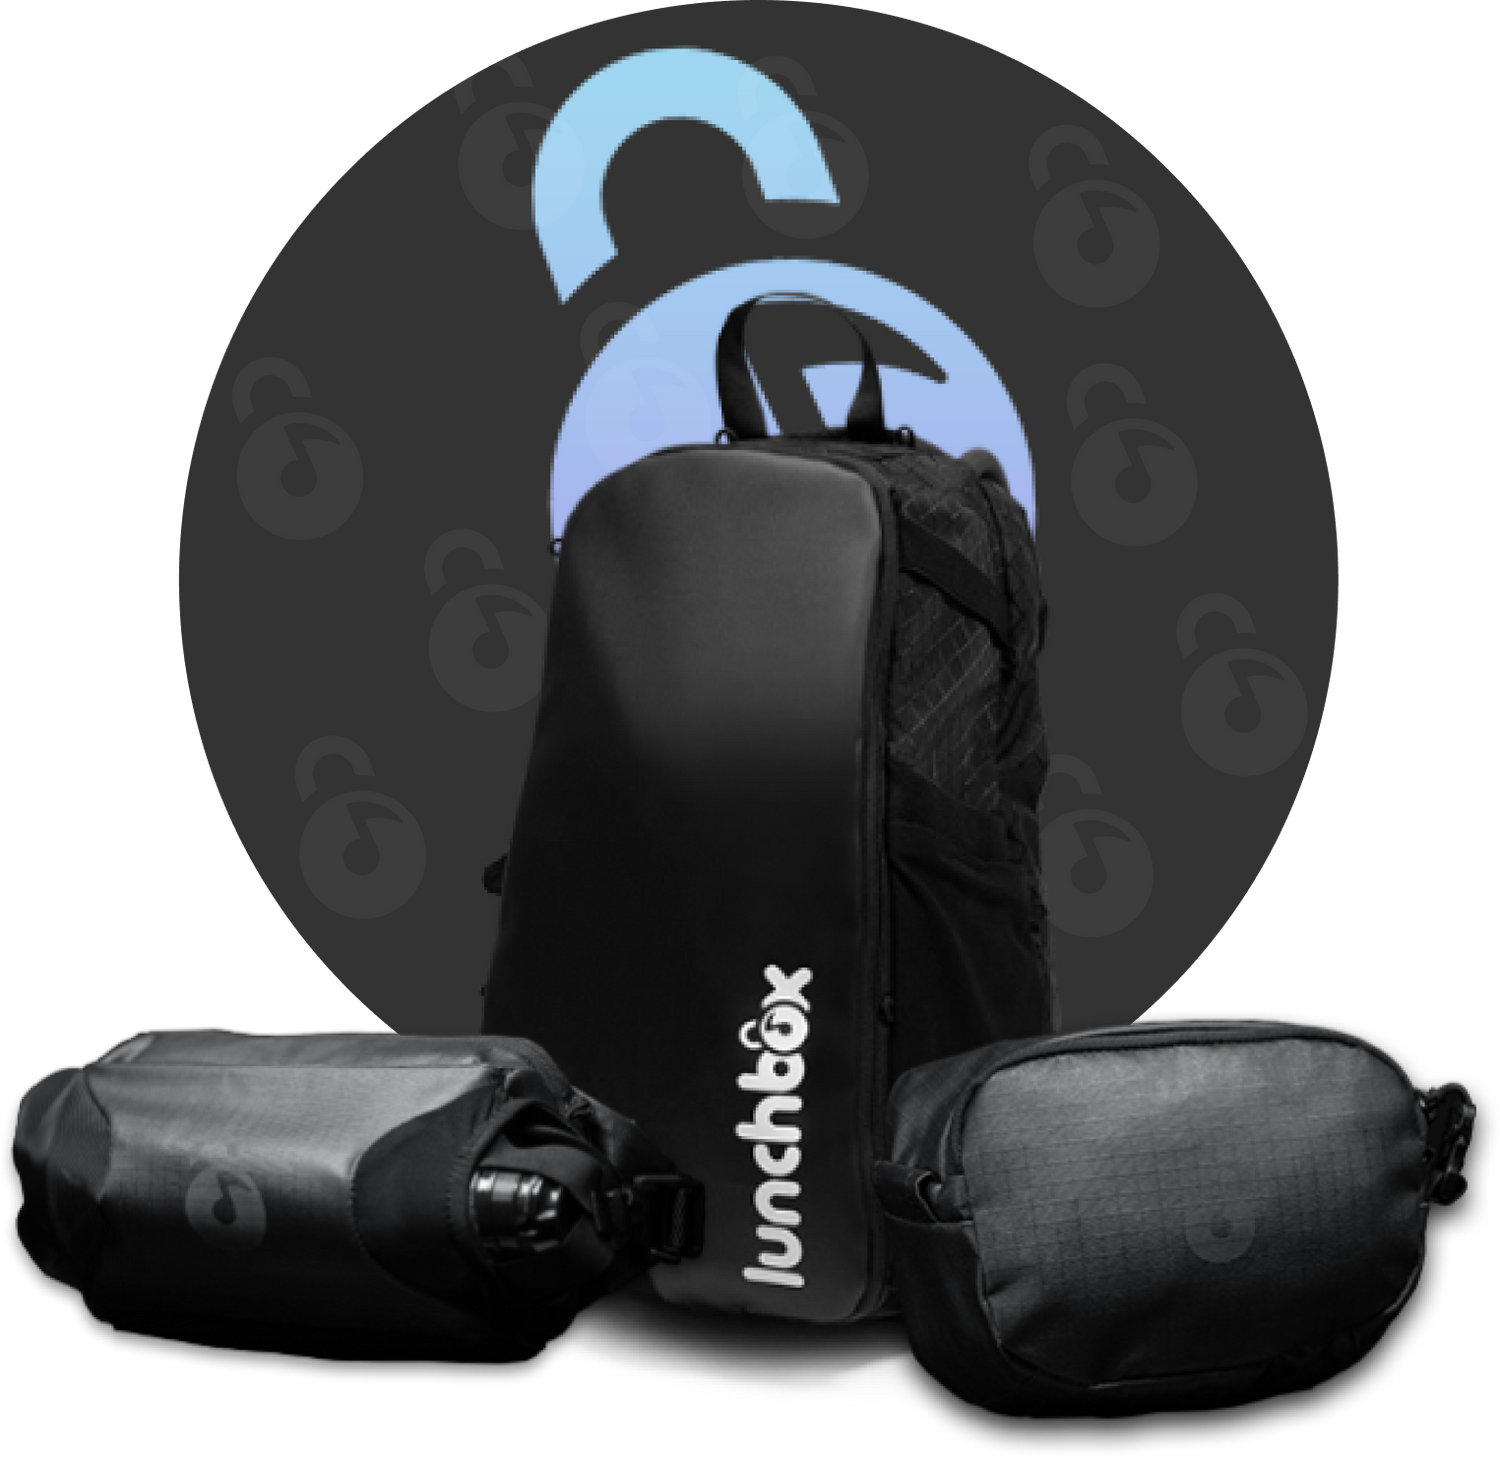
Hello Lunchbox Fam! My name is Chris. I am fairly new to this community having recently purchased my first Lunchbox Hydration Pack after attending EDC Las Vegas in May 2022. I immediately fell in love with the ability to customize the packs and create unique skins to reflect my personality. Once my pack arrived with my first blank DIY skin, I was stuck on where to start. Thankfully I watched some of Lunchbox’s YouTube videos which gave me some great tips to get started.
Not having any natural drawing or painting skills, I was pretty intimidated at first. But then, I remembered I had purchased a ton of vinyl stickers to personalize my computer, so I figured I could use those as a starting point. Then I took a quick trip to Michael’s where I purchased several different glitter and color shift acrylic paints, brushes, stencils, vinyl transfers and some mod podge.

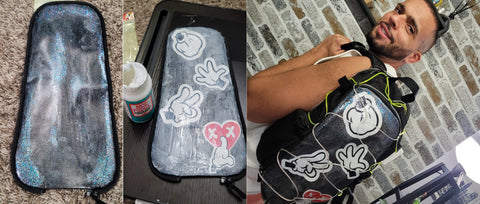
I first wanted to map out the layout for the stickers I chose. Then make sure you wipe the skin clean with an antibacterial wipe or some warm soap and water. Once dry, you can use painter’s tape to mask the zipper edge prior to painting.
PRO TIP: Use painter’s tape to avoid overpainting onto the zipper track or use a q-tip to clean any spill over.
I used an iridescent full spectrum glitter paint as my base coat as it dries clear and leaves a beautiful shimmery effect against the black skin. Using a soft bristle brush (or you can use a sponge brush too), I painted a few layers on to create depth on the skin. I recommend using a hair dryer, on a low and cool setting, to ensure that each layer is thoroughly dry before your next coat. After 3 or so layers, I let the skin dry overnight as the stickers wouldn’t stick well on semi-wet paint.

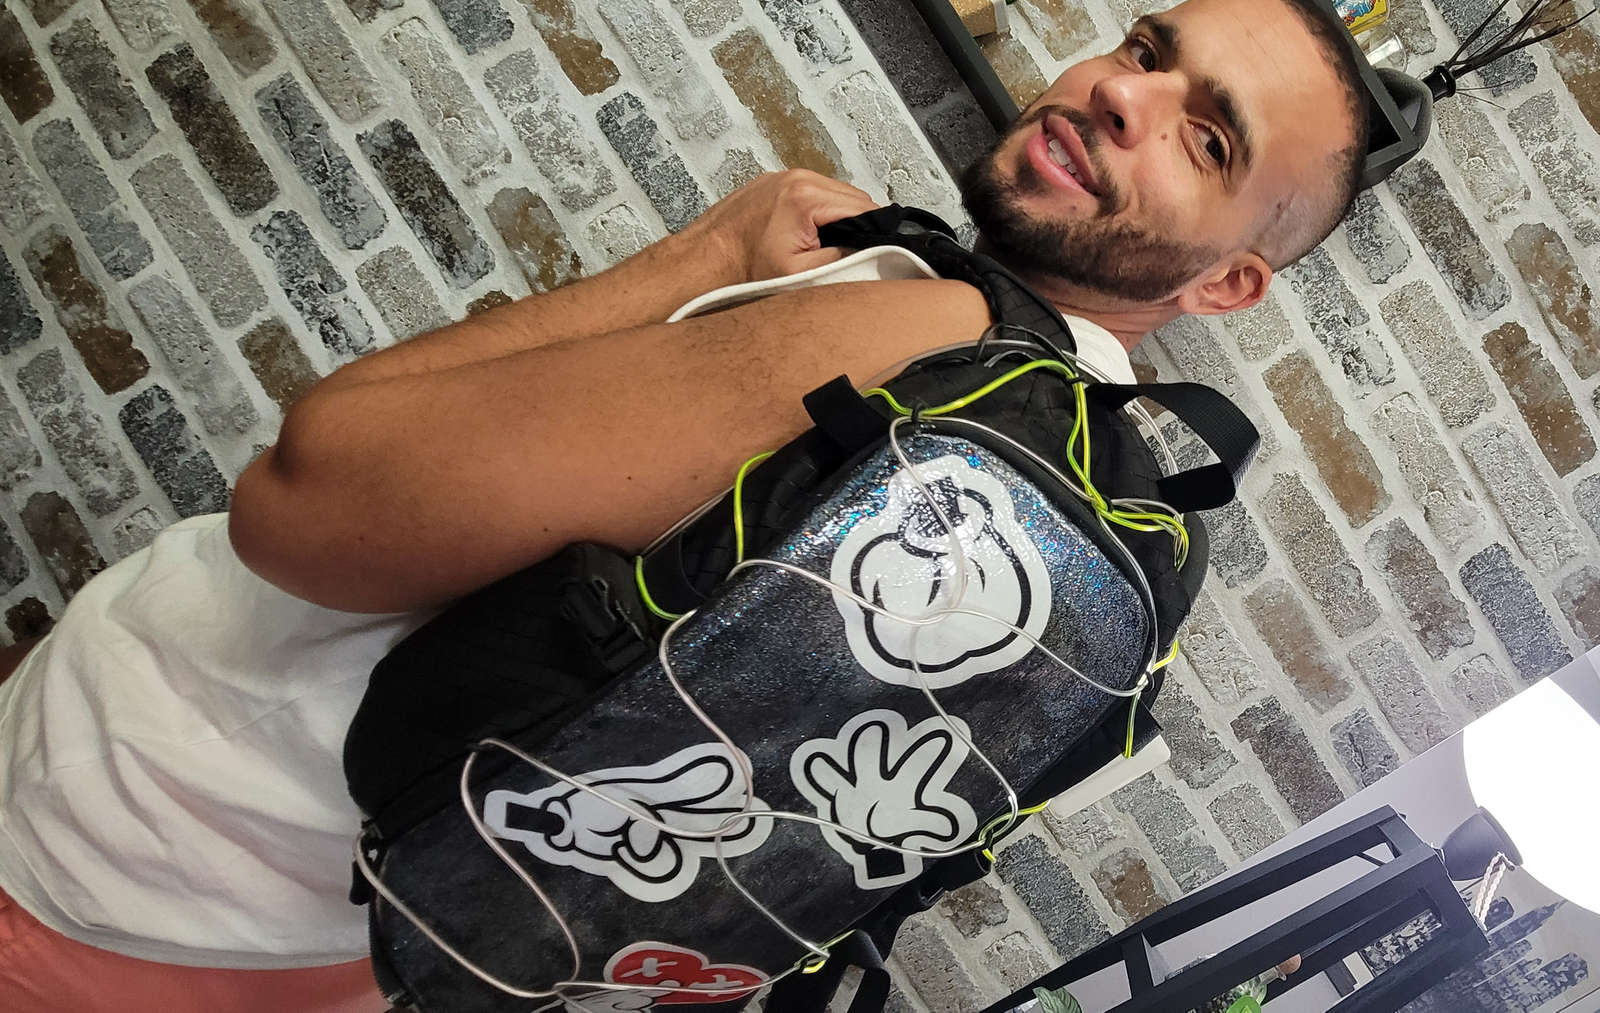
The next morning, I placed my stickers on the dry skin and because I wanted the final finish to be smooth, I painted 2 more layers of the full spectrum glitter paint to give the stickers some sparkle too. Once those layers dried, I used the sponge brush to start the final step of applying mod podge which will do wonders in protecting your beautiful new artwork. It keeps everything smooth and prevents the paint from sticking or cracking away. After several, and I mean several coats (think 5-7), you are ready to rock your new creations at your next festival!
I’ve created a few different designs that each represent me, and I have a lot of fun doing it. I find the whole process very relaxing and stimulating. Best tip I can offer is to take your time, don’t overthink it and mistakes will be made, as some of the designs end up taking a life of their own. And of course, have fun!!! I’m looking forward to seeing everyone’s creations and getting inspired for my next skin.